
How to Clean a Water Softener Brine Tank
How to clean a brine tank, in short: bypass the softener, remove the salt and water, lift out the float, brine well and grid plate, scrape and wash the floor, check the brine well openings are clear, then reassemble and refill to two thirds. Allow about an hour.
The order matters more than the scrubbing. Done in the wrong sequence it puts water on the floor and breaks parts that are not stocked locally.
The Three Parts That Get Broken
Before anything comes apart, it is worth knowing what is fragile, because all three failures happen in the first ten minutes and all three are avoidable.
| Component | What it is | How it gets broken | Consequence |
|---|---|---|---|
| Brine well | Vertical tube housing the float and brine pickup | Levered or twisted while salt is still packed around it | Cracked tube; brine line draws salt granules |
| Safety float | Float on a rod inside the well that shuts off refill | Pulled out by the rod, or forced past crystallised salt | Refill will not shut off; tank overflows |
| Grid plate | Perforated plate on the tank floor, on some models | Stood on, or prised up with a screwdriver | Snapped; salt sits directly in the brine plenum |
The tank itself is the fourth. Brine tanks are thin polyethylene and go brittle in cold basements. They do not tolerate being tipped when full, stood on, or struck. A full tank is heavy enough that tipping it also strains the connections at the base.
Why the sequence protects them. Every one of those breakages happens when someone tries to remove a component while salt or water is still supporting, packing or hiding it. Take the salt out, then the water, then the parts — in that order — and there is almost nothing left to get wrong.
One thing to check before you commit to the job. If the salt level has been frozen at one height for weeks, you may have a bridge rather than a dirty tank, and that is a ten-second fix rather than an hour — see how to identify and break a salt bridge first.
Bypass First, and Move the Valve Slowly
This is the step that gets skipped, and it is the one that floods floors.
What bypass does. It routes house water around the softener, isolating the unit from pressure and preventing a scheduled regeneration from starting. A refill cycle beginning while the brine well is out of the tank puts water straight onto the floor at mains pressure.
How to do it:
- Find the bypass. It is at the back of the control head — either a single lever, two valves, or a push-pull knob depending on the unit.
- Move it slowly. Bypass valves that have not been operated in years seize, and forcing a seized valve tears the O-rings. If it resists, work it back and forth gently rather than applying more force.
- Confirm you are actually in bypass. Run a cold tap for a minute. The water should now be untreated, which on hard supplies is noticeable in how soap behaves.
- Check for weeping around the valve body after it has moved. A bypass that starts leaking is a common and annoying side effect of exercising one for the first time in a decade.
If you cannot bypass, turn off the supply to the house or to the softener branch. Do not attempt the job with the unit live.
Timing the job. Do this when the tank is naturally low — right before a refill is due. Emptying a full tank means finding somewhere to store a hundred pounds of wet salt for an hour, and wet salt is far heavier than it looks.
What to have ready: a wet vacuum if you own one, two clean buckets, a long-handled brush, a stiff plastic scraper, dish soap, rubber gloves, and old towels for the floor.
The Sequence
Work top down. Nothing comes out until what is on top of it has gone.
- Scoop the usable salt into a clean, dry bucket. Everything above the sludge line goes back in later. Cover it so it does not absorb moisture while it waits.
- Keep scooping until you reach wet salt, then stop and reassess. Wet salt and sludge are different things — sludge does not pour.
- Remove the water. A wet vacuum is fastest and cleanest. Otherwise bail with a jug into a bucket. Expect two to five gallons. Do not tip the tank.
- Take the float assembly out of the brine well. Lift it by the float body, not by the rod. If it resists, warm water poured into the well dissolves the crystallised salt binding it.
- Lift the brine well straight up. Straight, not twisted — twisting is what cracks it. In most tanks it lifts free once the salt around it is clear. Some are clipped at the base; look before pulling.
- Lift out the grid plate if your model has one. Many do not. It should come up flat; if it is stuck, warm water around the edges rather than a screwdriver under it.
- Get the sludge off the floor. Scoop first, then scrape with the plastic scraper. This is the actual work, and it is the part that decides whether the job was worth doing.
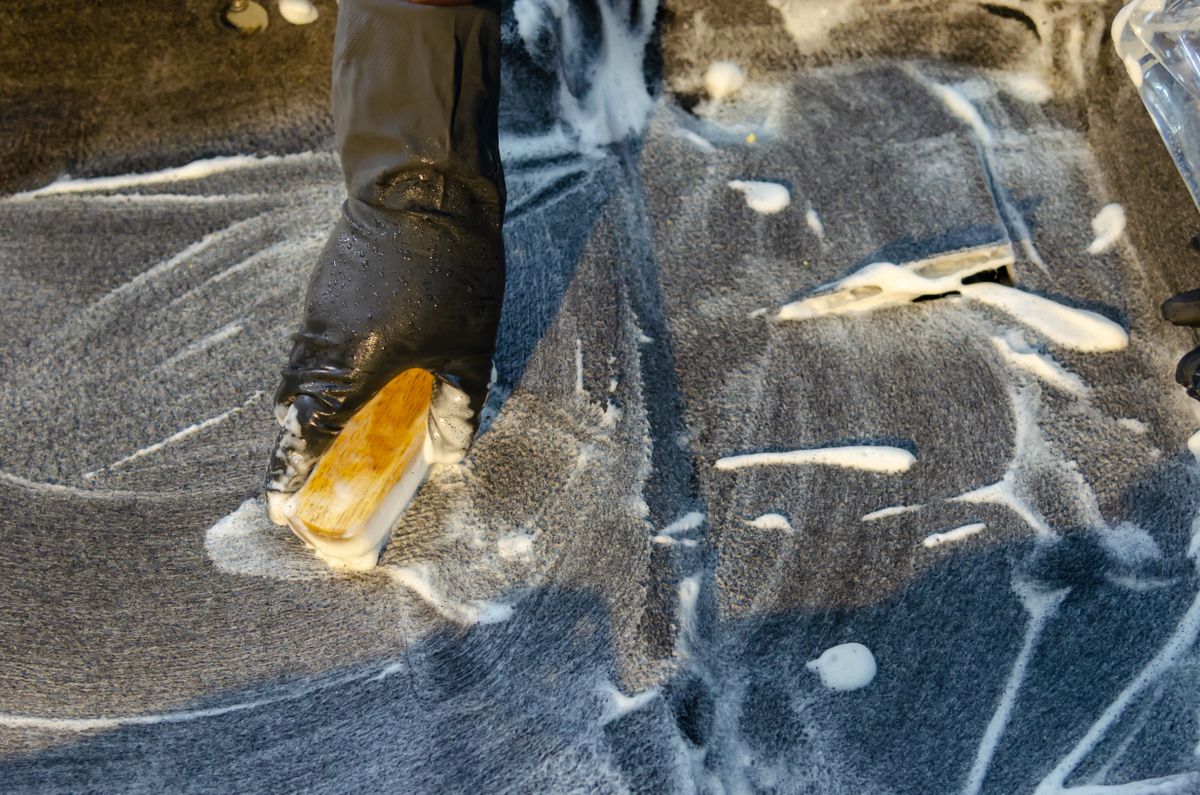
- Wash the interior. A few tablespoons of dish soap in one to two gallons of warm water, worked round the walls with the long-handled brush. The film on the walls comes off easily; the floor takes more effort.
- Rinse thoroughly, and remove every bit of the rinse water. Soap left behind foams during refill and can interfere with float travel.
- Clean the brine well and grid plate separately, outside the tank, under a running tap.
- Hold the brine well up to the light. You should be able to see through the small openings at its base. This is the check the whole job exists for.
- Rinse and free the float. It should slide along its rod without catching anywhere along its travel.
On bleach. Dish soap handles ordinary residue. A dilute bleach rinse is sometimes suggested for biological growth or a persistent smell, but it has to be rinsed out completely and some manufacturers take a dim view of it. Check your manual, and never mix it with anything else.
Reading What Came Out
Before you wash the scrapings down a drain, look at them. This is the diagnostic half of the job and it takes thirty seconds.
| What you scraped out | What it means | What to change |
|---|---|---|
| Thin grey grit, under an inch | Normal insolubles for the grade. No fault | Nothing, or move up a grade |
| Thick grey-brown sludge, several inches | Low-purity salt, accumulated over years | Switch to evaporated pellets; clean more often |
| Orange or rust-coloured deposit | Iron arriving from the resin side | Investigate the bed, backwash and raw water iron |
| Slimy dark film with an odour | Biological growth | Sanitising rinse, and check the unit's manual |
| Fine white powder that redissolves | Recrystallised salt, not residue | Refill habit — let the tank run down more often |
The orange case is the one that matters. Iron should not be in a brine tank at all, and its presence means it is travelling back from the resin bed. Cleaning the tank treats the symptom; the bed, the backwash flow rate and the raw water iron level are the actual investigation, and that fork is laid out in why softener salt looks brown or dirty.
The thick grey case tells you about your salt. If the residue has compacted into a dense layer rather than staying loose, you have been running on a grade that leaves a lot behind, and the layer has probably been blocking brine draw for some time — that specific fault is covered in what causes salt mushing in a brine tank.
Depth is the other number to note. Write it down. Next year's depth, compared against this one, tells you whether the salt change worked without you having to guess.
Reassembling, Refilling and Proving It Works
Reassembly is the reverse of disassembly, with two details that matter.
- Seat the grid plate flat on the tank floor. A plate sitting proud on one edge leaves a channel that fills with salt.
- Push the brine well fully down into its location, and confirm it stands vertical. A leaning well puts the float assembly at an angle and can cause it to bind.
- Refit the float assembly and check its travel by hand before any water goes in.
- Add about five gallons of clean water to the tank before the salt. This gives the first regeneration something to make brine from immediately.
- Return the salt you set aside, then top up with fresh. Fill to two thirds, not to the rim — the reasoning and the correct band are in how much salt should be in a brine tank.
- Take the unit out of bypass, slowly, and check for leaks around the valve body.
- Wait at least four hours before regenerating. Brine needs contact time to reach saturation and this step is routinely skipped.
- Run a manual regeneration and watch the tank. The water level should visibly fall during the brine draw stage. That is your proof the cleanout achieved something.
- Test the water afterwards. Hardness at the kitchen tap should read at or near zero — the method is in how to check if your water softener is working.
If brine still will not draw from a clean tank, the obstruction has already moved downstream into the brine line, the injector or the air check valve. Those are small, cheap parts with very fine passages, and they are the next thing to open.
If softening is still poor with confirmed brine draw, the tank was never the problem. The bed is the next suspect, and the symptoms that distinguish fouling from other failures are in what is water softener resin fouling.
How Often, and When Not to Bother
Annual is the right default, and the variables that shift it are predictable.
| Situation | Interval |
|---|---|
| Evaporated pellets, municipal water, dry location | Every 12 months |
| Solar crystals | Every 12 months |
| Rock salt | Every 6 months |
| Well water with iron | Every 6 months |
| Humid basement or garage | Every 6–12 months |
| Softener under 2 years old, high-grade salt | Inspect annually, clean when residue justifies it |
Clean immediately, whatever the schedule says, if: brine draw has failed, the residue is over an inch deep, you have just broken a bridge and found sludge underneath, or the tank has an odour.
Do not clean just because it is due if you have opened the lid, probed the floor, and found under an inch of loose grit. Inspection is the annual task; the full cleanout is what inspection triggers. Penn State Extension's overview of water softening sets brine tank upkeep alongside the rest of a softener's maintenance, and the EPA's guidance on cation exchange water softeners covers the efficiency side that regular upkeep protects. Where you are replacing internal parts rather than just cleaning them, certified components are listed in the WQA product database.
In Order
- Probe first — confirm you have residue rather than a bridge.
- Time it for when the tank is low.
- Bypass the softener, moving the valve slowly, and confirm it took.
- Scoop usable salt into a covered bucket.
- Vacuum or bail out the water. Never tip the tank.
- Lift the float by its body, then the brine well straight up, then the grid plate.
- Scrape and scoop the floor before any washing starts.
- Note the colour and depth of what came out. Write the depth down.
- Wash with dish soap and warm water, rinse, and remove all rinse water.
- Hold the brine well to the light and confirm the base openings are clear.
- Reassemble flat and vertical, add five gallons of water, then salt to two thirds.
- Come out of bypass, wait four hours, regenerate manually, and watch the level fall.
The cleaning itself is the easy part. What makes the hour worth spending is the two minutes at step eight — because a clean tank with unread residue means you will be doing this again next year for exactly the same reason.
Frequently Asked Questions
How do you clean a water softener brine tank?
Put the softener in bypass, scoop out usable salt into a clean bucket, remove the remaining water with a wet vacuum or a jug, then lift out the float assembly, the brine well and the grid plate. Scrape the sludge off the tank floor, wash the interior with a few tablespoons of dish soap in warm water using a long-handled brush, rinse thoroughly and remove the rinse water. Check the brine well openings are clear, reassemble, add about five gallons of clean water, refill with salt to two thirds, and return the unit to service.
How often should a brine tank be cleaned?
Once a year is right for most households using evaporated pellets or solar crystals. Twice a year is sensible if you are using rock salt, if the raw water carries iron, or if the tank sits in a humid space. Clean immediately, regardless of schedule, if the softener has stopped drawing brine, if residue on the floor is more than an inch deep, or if you have just cleared a salt bridge and found sludge underneath it.
Do you need to bypass the softener before cleaning the brine tank?
Yes. Bypass isolates the unit from house pressure and prevents a scheduled regeneration starting while the tank is open and partly disassembled. A refill cycle beginning with the brine well removed will put water on the floor. Move the bypass valve slowly — valves that have not been operated in years can seize or start weeping, which is worth discovering deliberately rather than mid-job.
What is the brine well and why does it matter?
The brine well is the vertical tube inside the tank that houses the float assembly and the brine line pickup. It has small openings at its base that let brine flow in from the surrounding salt while keeping salt granules out of the line. Those openings are the part that blocks. If they are obstructed by sludge, the softener cannot draw brine no matter how much salt is in the tank, so checking them against the light is the single most valuable step in a cleanout.
Can you use bleach to clean a brine tank?
Dish soap and warm water is sufficient for ordinary residue and is what most manufacturers specify. A dilute bleach rinse is sometimes recommended where there is biological growth or a persistent odour, but it must be rinsed out completely before the tank is returned to service, and some manufacturers void warranty terms over it. Check your manual before using bleach, and never combine it with any other cleaning product.
What does the residue at the bottom of a brine tank tell you?
Its colour identifies the cause. Grey or grey-brown grit is insoluble material from the salt grade you are using, and switching from rock salt to evaporated pellets removes the source. Orange or rust-coloured residue is iron arriving from the resin side, which points at a fouled bed, inadequate backwash or raw water iron above the unit's rating. Both get cleaned out the same way, but only one of them means the job is finished when the tank is clean.
