
Common Water Hardness Sampling Mistakes
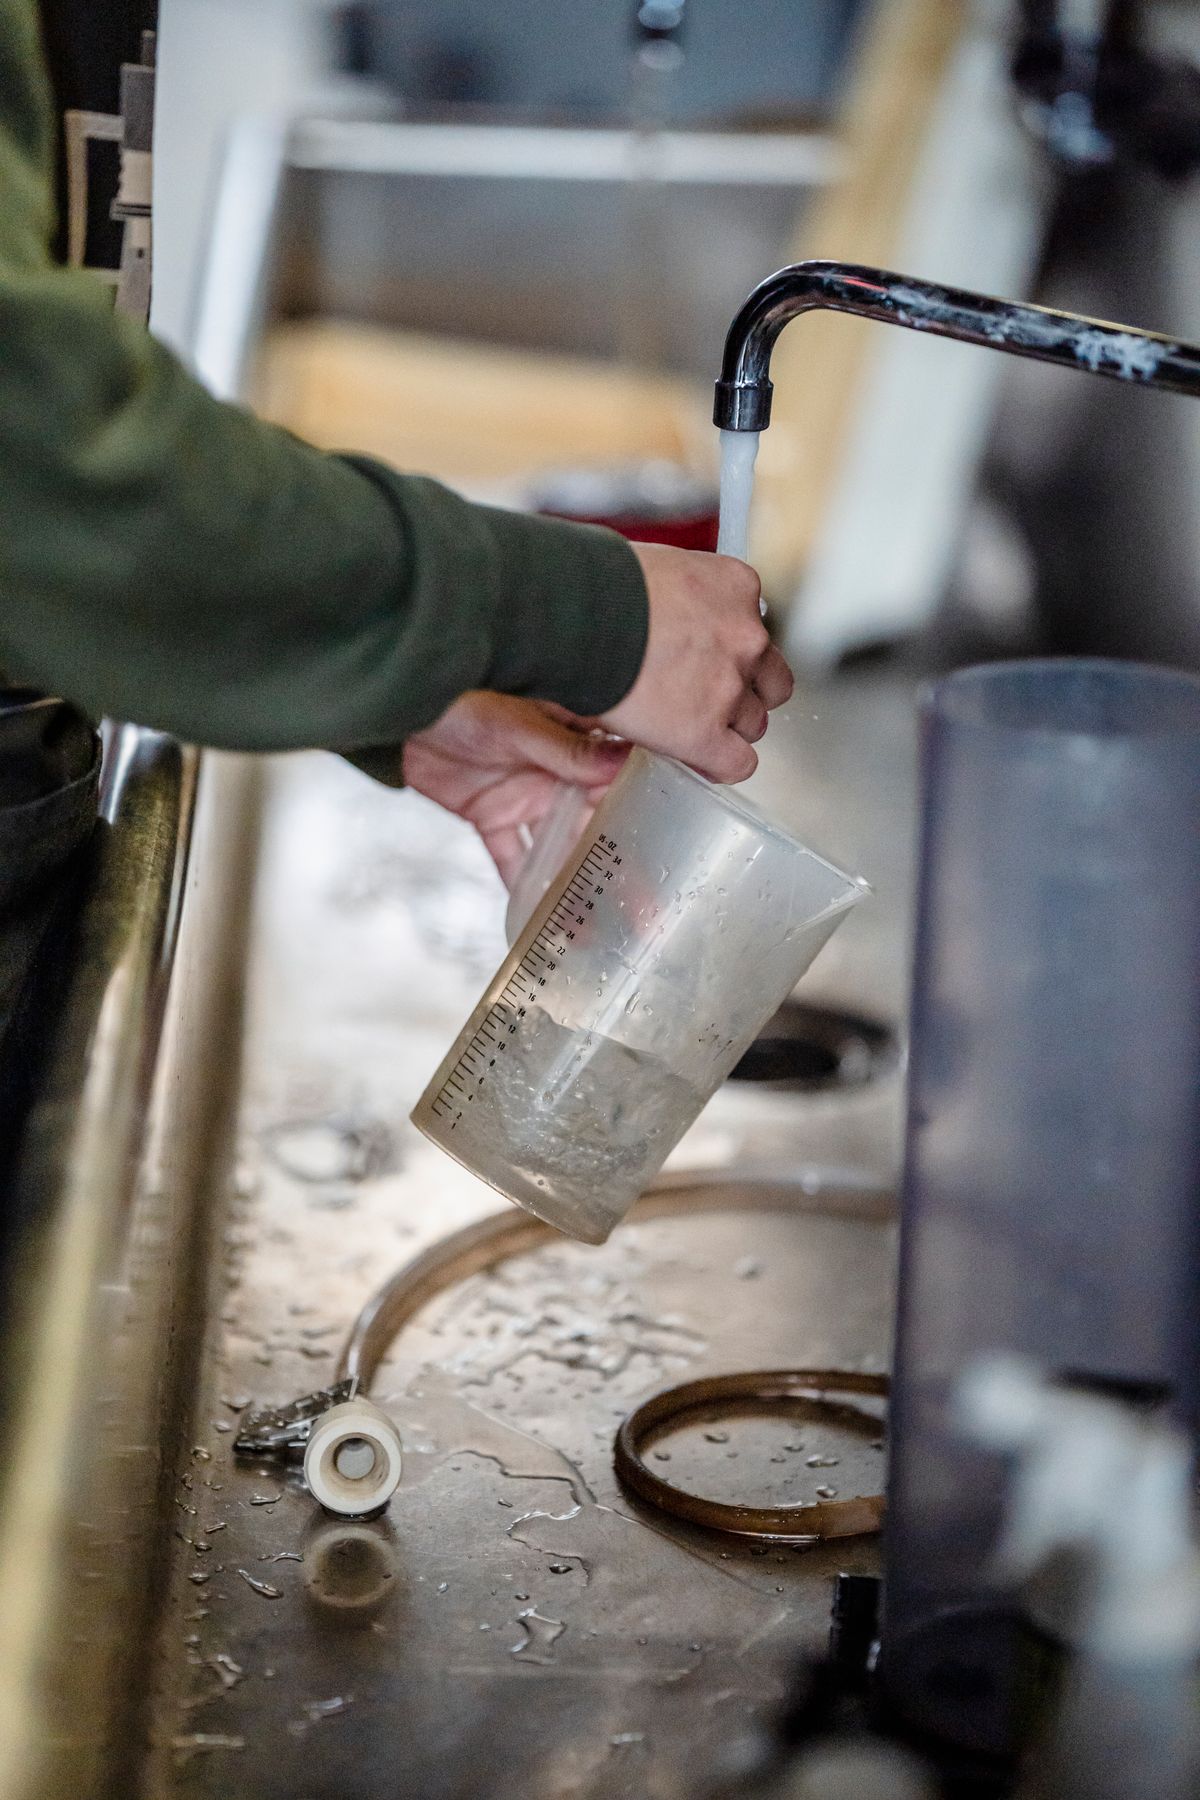
Water hardness sampling mistakes are the main reason a home hardness result makes no sense. The seven that matter are sampling a softened or filtered tap, testing the hot side, flushing too briefly after a bypass, sampling on the wrong side of a neutralizer, drawing through a scaled aerator or dirty glass, letting the sample stand, and trusting one sample from one day. The fix is almost always the same: cold water from a point upstream of every piece of treatment.
This page covers what the kit instructions leave out: which way each mistake moves the number, roughly how far, and where the correct sampling point is in the plumbing layout you actually have. The testing technique itself (strips, drop kits, reading the colour) is covered in our guide to testing water hardness at home.
Water Hardness Sampling Mistakes at a Glance
The magnitudes below are illustrative. They show how large each error can be under typical conditions, not measurements from one house. The direction column is the part to remember, because it tells you which mistake to suspect when a number looks wrong.
| # | Mistake | Direction | How far it can move the result (illustrative) | Fix |
|---|---|---|---|---|
| 1 | Sampling a softened or filtered tap | Low | Up to the entire raw hardness: 20 gpg water can read 0 | Sample upstream of all treatment |
| 2 | Testing hot water | Usually low | A few gpg on very hard water, more with an old, scaled heater; near 0 if the heater is fed softened water | Cold tap only |
| 3 | Flushing too briefly after bypassing a softener | Low | Anywhere between 0 and the true value, depending on how much softened water is left in the pipe | Flush 2–3 minutes, then test until two draws agree |
| 4 | Sampling the wrong side of a calcite neutralizer | Low or high | A few gpg, depending on how acidic the raw water is | Take the sizing sample after the neutralizer |
| 5 | Drawing through a scaled aerator or into a dirty glass | High, erratic | Small but unpredictable; worst on strips | Remove the aerator; rinse the glass with sample water |
| 6 | Letting the sample stand, or rinsing a lab bottle | Usually low | Small for a home test; can void a lab sample | Test within 15 minutes; never rinse preserved bottles |
| 7 | Trusting one sample from one day | Either | Utility and well sources can swing several gpg by season | Two samples, different days |
Five of the seven push the number down. That matters, because a low reading is the one people act on with the least suspicion. It leads to an undersized softener or a decision not to treat at all.
Mistake 1: Sampling a Tap That Isn't Raw Water
This is the big one, and it's easy to make without knowing it. In most houses with a softener, nearly every tap delivers treated water. A sample from any of them measures your softener, not your supply.
The less obvious versions:
- The hose bib that isn't bypassed. Installers usually split outdoor spigots off before the softener, but not always. Some newer builds and slab-foundation homes run everything through the softener. Never assume. A hose bib that reads 0–1 gpg in a hard-water area is on the softened line.
- The kitchen cold tap with a drinking-water loop. Some plumbers leave the kitchen cold tap unsoftened; others soften it and add a separate drinking tap. Sampling the wrong one gives you the wrong answer in either direction.
- The refrigerator dispenser or RO faucet. Reverse osmosis removes most hardness, and many fridge filters include media that reduce it. Neither tells you anything about the supply.
- A softener with a blend valve. Some control valves deliberately mix in a little hard water, often to leave a few grains of residual hardness. The "softened" tap then reads low but not zero, which can look like a plausible raw result.
If you can't tell which taps are treated, test several and compare. The pattern tells you where the treated branch starts, and the full mapping method is in why hardness test results differ between faucets.
Mistake 2: Testing the Hot Side
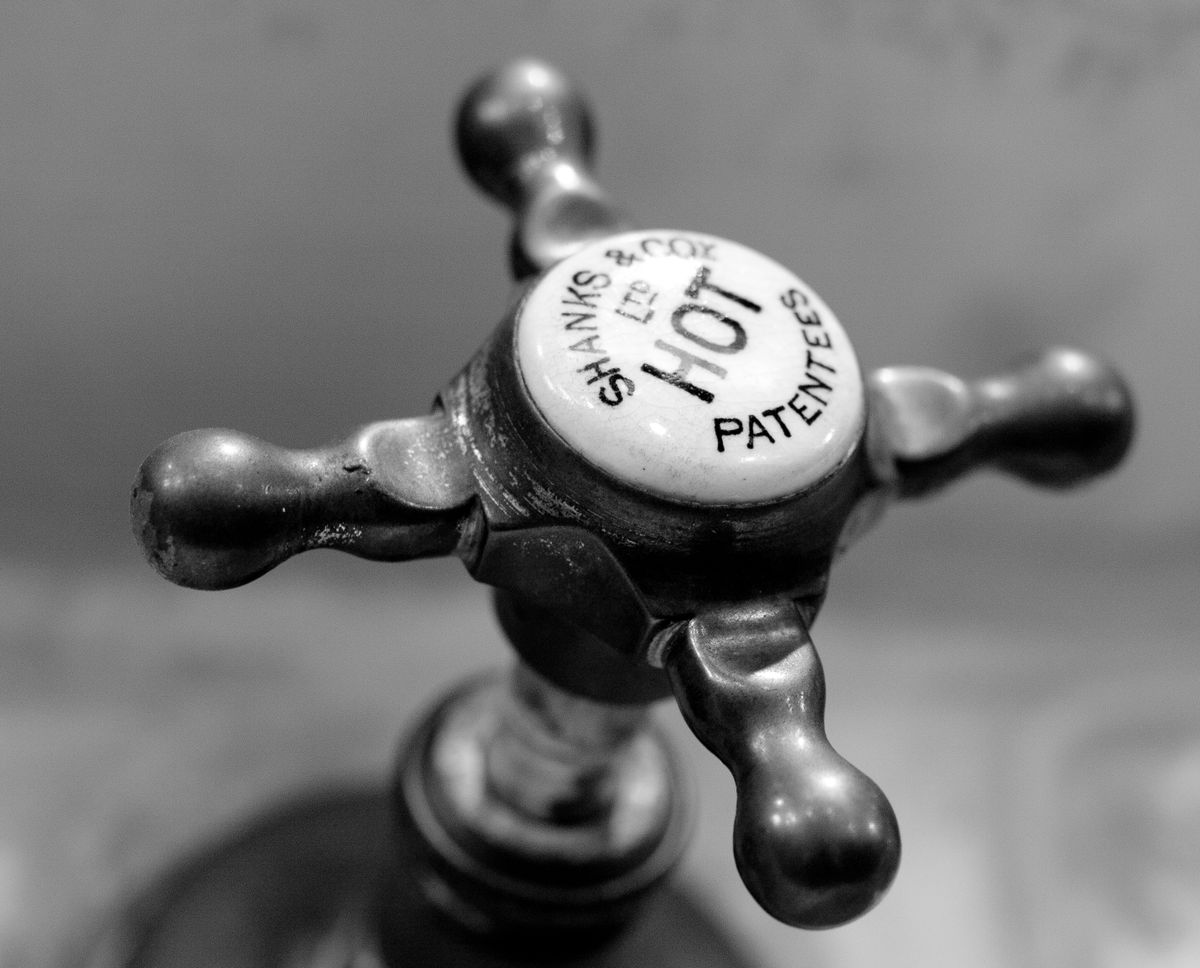
Calcium carbonate is one of the few minerals that gets less soluble as water heats. Inside a water heater, some of your hardness drops out as scale and sediment. The water that leaves the tank carries less dissolved calcium than the water that went in, so a hot sample under-reports your hardness.
How much lower depends on the heater's temperature, how long the water sat, and how much hardness there was to lose. Very hard water loses more than moderately hard water. Two complications make hot samples even less trustworthy:
- Loose scale flakes stirred up from the bottom of the tank can land in the sample and push a strip reading up instead.
- Magnesium anode rods slowly dissolve into the tank by design, which adds a small amount of magnesium to the hot water.
So a hot sample can be off in either direction, and you can't correct for it. Use a cold tap, every time.
Mistake 3: Not Flushing Long Enough After Bypassing
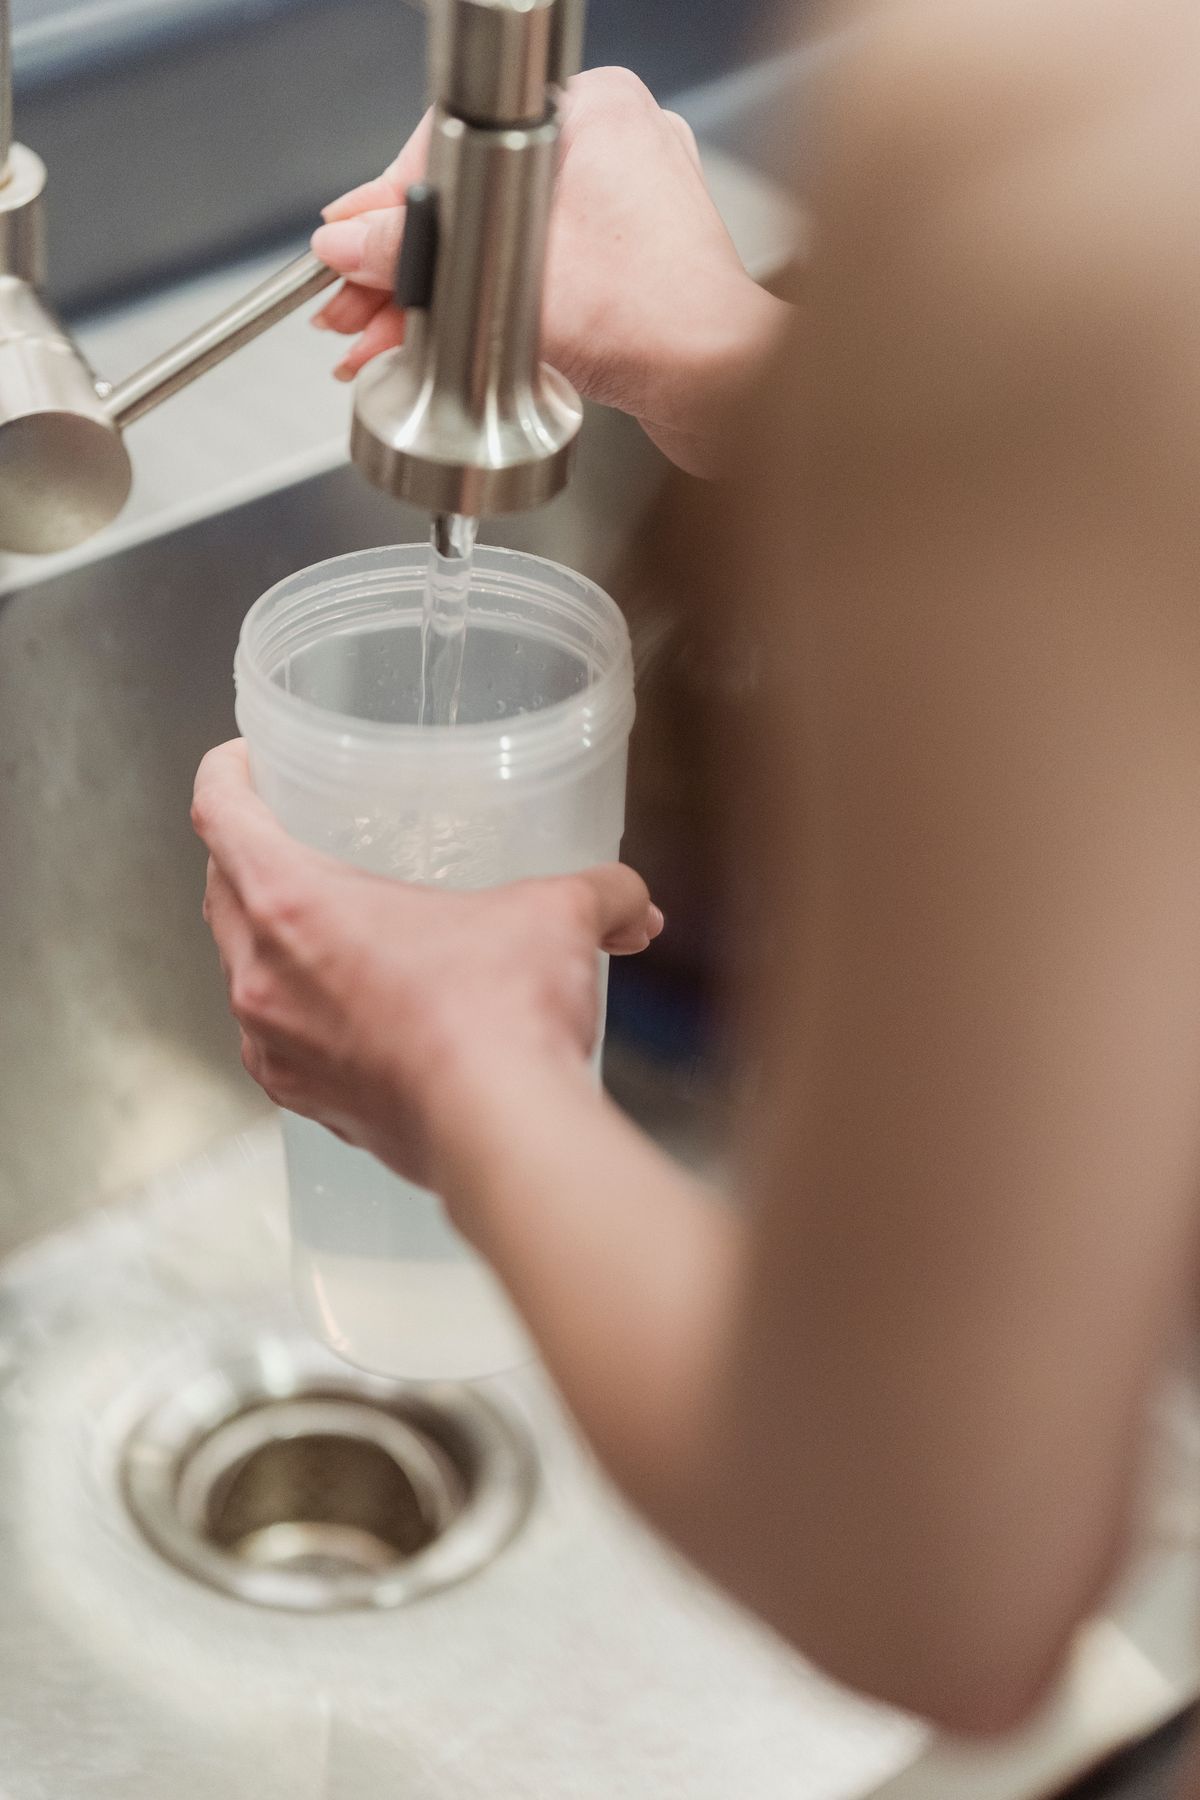
The standard "run it for 30 seconds" advice assumes the pipe holds the same water as the main. Once you've put a softener into bypass, that isn't true. Every foot of pipe between the softener and your tap is still full of softened water, and you have to push all of it out before the sample means anything.
Here's how much water that is:
| Pipe | Water held per 10 ft |
|---|---|
| ¾-inch copper (Type L) | About 0.25 gallon |
| ½-inch copper (Type L) | About 0.12 gallon |
| ¾-inch PEX | About 0.19 gallon |
A worked example: a softener in the garage with 70 feet of ¾-inch copper and 10 feet of ½-inch line to the kitchen holds roughly 1.9 gallons of softened water. A typical kitchen faucet runs at 1.5 to 2.2 gallons per minute, so it takes about a minute just to reach the first hard water. Water doesn't flow through a pipe as a clean plug, though. Softened water lingers along the walls and at every tee. Running two to three times the pipe volume, which is two to three minutes in this house, is the safe margin.
The reliable check is to test two draws taken about a minute apart. If the second reads higher than the first, you're still flushing. When two consecutive readings agree, you have your raw number.
Mistake 4: Sampling on the Wrong Side of a Neutralizer
On private wells with acidic water, the usual fix is a neutralizing filter packed with calcite (calcium carbonate), sometimes blended with magnesium oxide. It works by dissolving into the water, and that means it adds hardness. Virginia Tech's household water program describes these filters as calcite media that dissolve as water flows through them to raise the pH. The dissolved calcium is hardness, and a softener downstream has to remove it.
That creates a two-sample problem:
- For diagnosing the well, test the raw water before the neutralizer.
- For sizing or programming a softener that sits after the neutralizer, test the water leaving the neutralizer. That's the water the softener actually treats.
Size the softener from the raw sample and it will be too small by however many grains the neutralizer adds. That's often a few grains per gallon, and more on very acidic water or when the media bed is freshly topped up. The same logic applies to any stage that changes hardness.
Mistake 5: A Scaled Aerator or a Dirty Glass
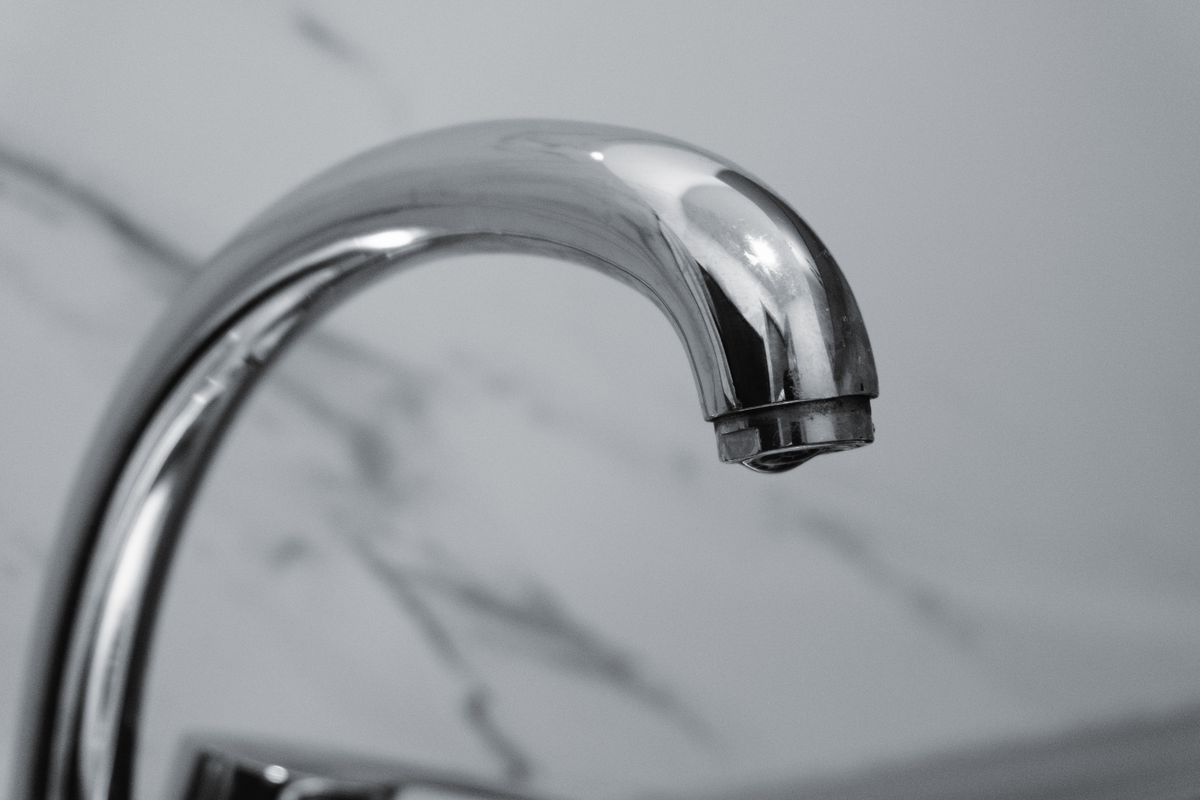
A scaled aerator sheds tiny flakes of calcium carbonate into the sample. On a strip, a flake that lands on the pad gives a local colour change and a falsely high read. In a titration vial, particles cloud the sample and make the red-to-blue endpoint harder to see. The error isn't large, but it's erratic, and erratic is worse than a steady bias because you can't spot it. Unscrew the aerator before sampling, or use a tap that doesn't have one.
The container matters for the same reason. A glass that air-dried after washing in hard water carries a thin mineral film, and rinse aid residue can interfere with the indicator. Use a clean glass and rinse it three times with the sample water before filling. That's standard practice for a home test, and it's the opposite of what you do with a lab bottle (see the next mistake).
Mistake 6: Letting the Sample Stand, or Rinsing a Lab Bottle
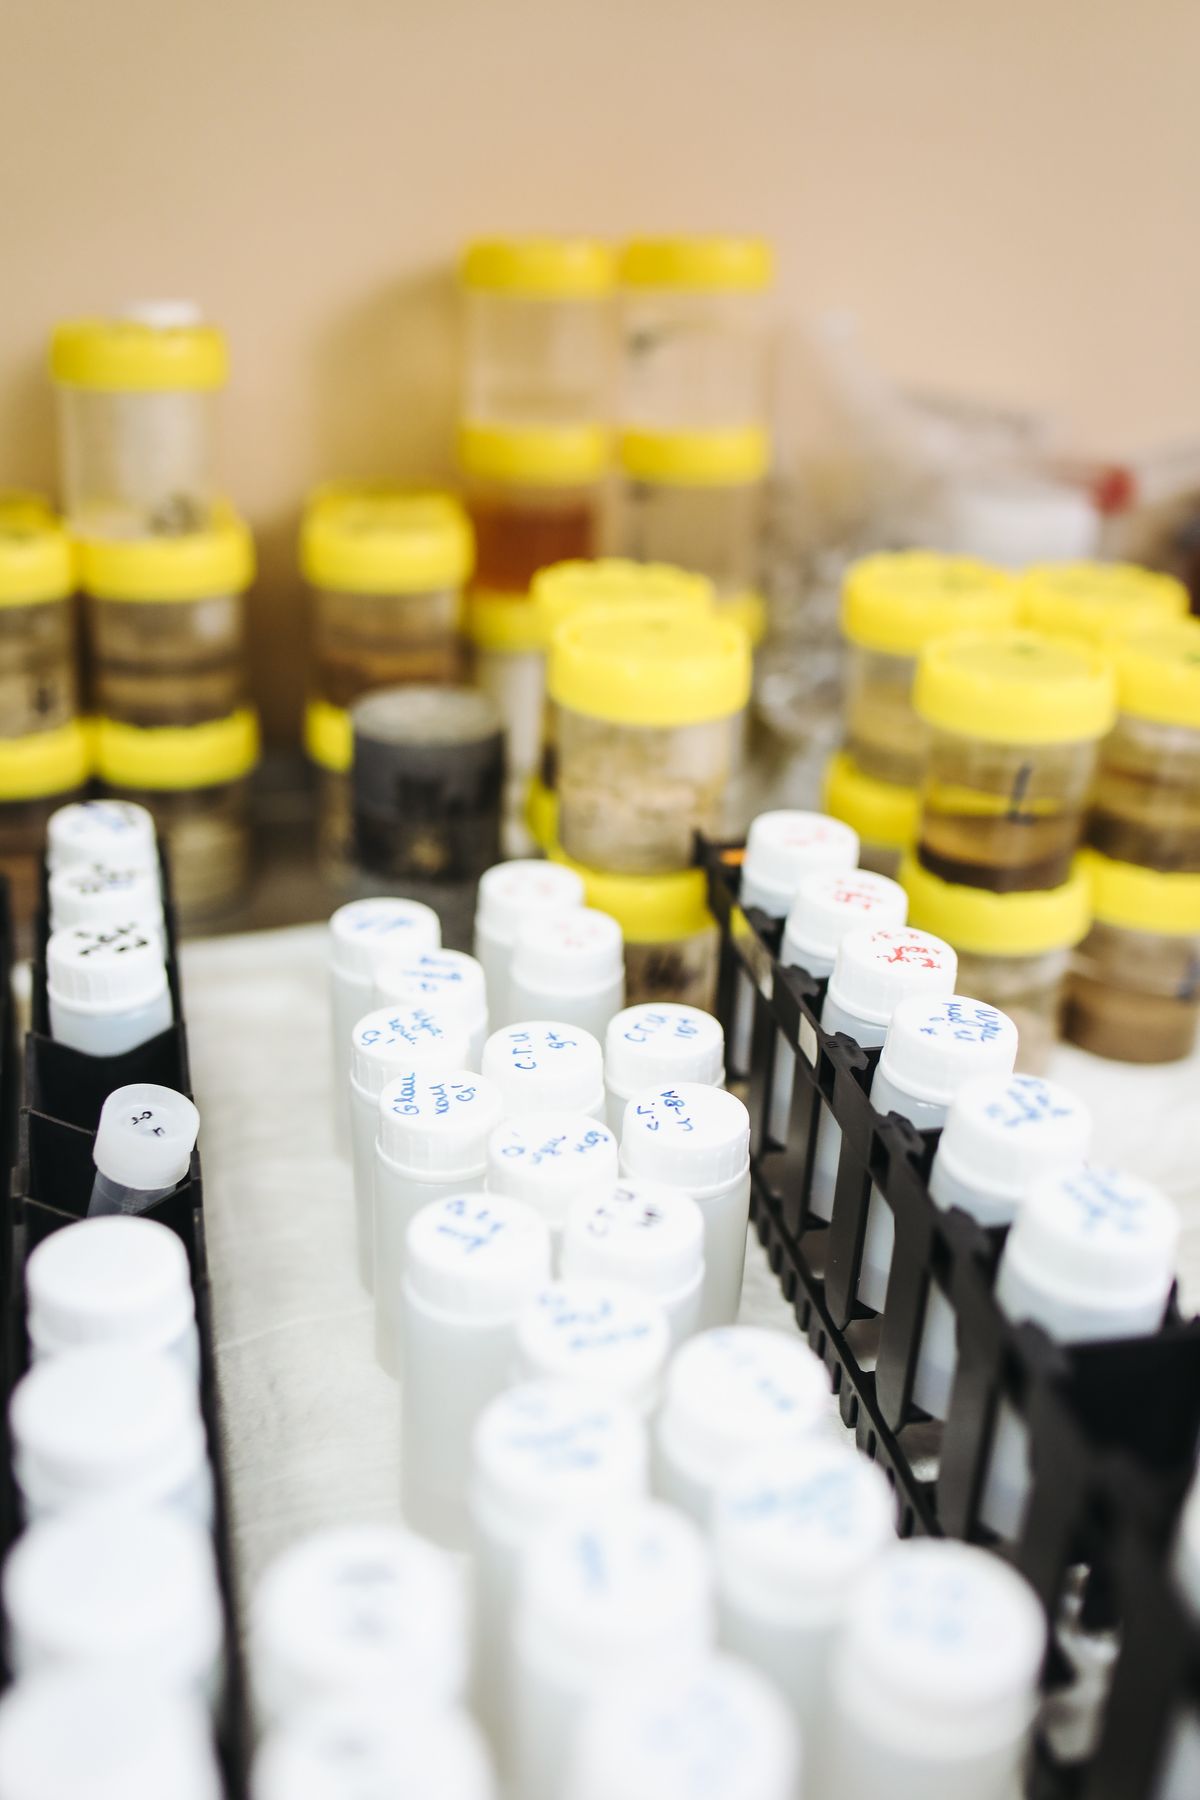
For a home test, read the sample within about 15 minutes. Very hard well water often comes out of the ground carrying more dissolved carbon dioxide than it can hold at room conditions. As a glass sits open and warms, that CO₂ escapes and a little calcium carbonate can come out of solution, so the sample reads slightly low. Leave it for a day and evaporation starts pushing the number the other way. Neither effect is big over a few minutes, but there's no reason to take the chance.
For a lab test, the rules flip:
- Don't rinse the bottle. Metals and hardness bottles are often pre-dosed with a small amount of acid preservative. Rinsing washes it out, and filling past the line dilutes it.
- Fill it from the right tap. Lab bottles are less forgiving of a hose bib or a swivel spout than a home kit. Penn State Extension's sampling guidance suggests the kitchen faucet for drinking water, or the spigot at the pressure tank before any treatment equipment when you want raw well water.
- Respect the delivery window. Hardness is a stable parameter once preserved, but the same bottle set often includes bacteria or other tests with short hold times. Collect early in the week so the package doesn't sit in a warehouse over a weekend.
Mistake 7: One Sample, One Day
A perfectly taken sample can still misrepresent your water if the source is moving. Three common reasons:
- Your utility blends sources. Systems that mix groundwater and surface water, or switch wells seasonally, can deliver noticeably different hardness in summer and winter. The annual water quality report usually shows this as a range. How to read your water hardness report explains why the average on that report shouldn't be used for sizing.
- Your well is changing. Water tables fall in dry months and heavy use can draw water from a different zone. Right after well work or shock chlorination, the water isn't representative at all. Wait until the system has been flushed and back in normal use for a week or two.
- Your softener is regenerating. Most control valves send untreated water to the house while they regenerate, usually overnight. A "softened" sample taken at 2 a.m. can read close to raw hardness, a false alarm in the other direction.
Take two samples on different days, and if the results differ by more than a grain or two, take a third. Size from the higher number, not the average.
Where to Sample: Six Common Plumbing Layouts
The correct sampling point depends on what's between the water main (or the well) and your tap. Find your layout below.
| # | Layout | Correct raw-water sampling point | Check before you trust it |
|---|---|---|---|
| 1 | Municipal water, no treatment | Kitchen cold tap, aerator off, 30–60 second flush | Should land inside the range on your utility report |
| 2 | Municipal water + whole-house softener, outdoor spigots split off before it | Outdoor hose bib, run 1 minute | A reading of 0–1 gpg means the bib is on the softened line after all |
| 3 | Municipal water + softener, every tap treated | Softener in bypass, nearest cold tap, 2–3 minute flush | Two draws a minute apart must agree (see below) |
| 4 | Private well, no treatment | Spigot or drain at the pressure tank, or the kitchen cold tap | Run water until the pump switches on, so you draw from the well, not the tank |
| 5 | Private well + treatment train (sediment, iron filter, neutralizer, softener) | Two samples: raw at the pressure tank, and the softener inlet after every other stage | Size the softener from the second sample |
| 6 | Point-of-use only (under-sink RO, fridge filter, faucet-mounted filter or pitcher) | Any cold tap that isn't filtered, or the faucet filter switched to bypass | Never the RO faucet or fridge dispenser |
Layout 5 is where most well owners go wrong, so here it is drawn out:
WELL → PRESSURE TANK → (A) → sediment filter → iron filter → neutralizer → (B) → SOFTENER → (C) → house
                        │                                                   │                  │
             raw well water:                                    softener inlet:       softened water:
             diagnose the well                                  size the softener     check it works
And for a municipal house with a softener (layouts 2 and 3):
WATER MAIN → shut-off → (A) hose bib, if split off here → SOFTENER → (C) every indoor tap
                                                        ↑
                                            bypass valve: close to get raw water at (C) taps
Sample A is your supply. Sample B only exists on a treatment train, and it's the one that sizes the softener. Sample C tells you whether the softener is doing its job, and comparing C against A or B is the fastest way to separate an equipment fault from a plumbing one.
The pressure-tank point on a well needs one extra step. A pressure tank holds a few gallons of water that has been sitting there. Open the spigot and let it run until you hear the pump start. The water after that point is coming fresh from the well. Private well owners carry this job themselves, since the EPA notes it doesn't regulate private wells, and testing is the owner's responsibility.
When No Untreated Tap Exists
Layout 3 is increasingly common, and it's the case most guides skip. If every tap in the house is softened, here's how to get a raw sample:
- Find the bypass. Most modern softeners have a single bypass on the control valve, either a push-pull knob or a lever you rotate. Older installs often have a three-valve loop: close the inlet and outlet valves and open the one between them.
- Check the clock. Don't bypass while the softener is regenerating. Many valves show a status light or a "regen" message.
- Flush the nearest cold tap for two to three minutes. Use the tap closest to the softener, often a laundry sink or a basement bathroom, because it has the least pipe to clear.
- Test two draws a minute apart. When they agree, record the result.
- Return the valve to service. Walk away with the softener in bypass and you'll be testing the symptoms of hard water in a week.
If you can't operate the bypass (a rented home, a condo with building-wide softening, or a valve you don't want to touch), your options are:
- Ask the utility for the current hardness in your pressure zone, not just the annual average. Customer service or the water quality lab can usually give you a recent figure.
- Ask the installer or building manager to take a sample at the softener inlet during a service visit.
- Use a lab kit and follow its instructions for where to draw raw water. Some labs will tell you exactly which fitting to use for your setup.
Whatever the source, check the unit. Utilities usually report mg/L as calcium carbonate, while softeners are programmed in grains per gallon. Our water hardness units guide has the conversion, and it's worth a second look before you program anything.
How to Tell a Result Was Sampled Wrong
You don't always know a mistake happened. These checks catch most of them:
- The result is suspiciously close to zero in a hard-water region. You sampled a treated line. Suspect mistake 1 or 3.
- A municipal result falls well below the range on the utility report. Same suspicion. Results that match the report's range are usually trustworthy.
- Two draws from the same tap a minute apart disagree. The line isn't flushed, or the sample picked up particles.
- Hot and cold from the same fixture differ. Expected. Trust the cold one.
- A strip shows a speckled or uneven pad. A flake landed on it. Remove the aerator and retest.
- This year's number is much higher or lower than last year's. Before assuming the source changed, retrace the sampling point, tap and flush time.
What to Do Next
- Identify your layout from the table above and mark the correct raw-water point in your own house.
- Take two cold samples on different days from that point, flushing properly and testing within 15 minutes.
- If you have a treatment train, take the second sample at the softener inlet and size from that one.
- Use the higher of two agreeing results as your hardness figure. Then decide whether it justifies treatment, which is what do you need a whole-house water softener works through. Avoiding these water hardness sampling mistakes is what makes that decision worth trusting.
Frequently Asked Questions
Should you run the water before testing hardness?
Yes. Run the cold tap long enough to replace the water standing in the pipe, which is about 30 seconds on a tap that gets daily use. After putting a softener into bypass you need longer, often two to three minutes, because the pipes are still full of softened water. The exception is a lab test for lead or copper, which deliberately uses the first water out of the tap after it has sat overnight. Hardness is not that kind of test.
Can I test hardness from the hot water tap?
Not if you want to know the hardness of your supply. Heating makes calcium carbonate drop out of solution inside the water heater, so a hot sample usually reads lower than the cold water feeding the house. If the heater is fed from a softener, the hot side reads close to zero regardless of your raw hardness. Always draw hardness samples from a cold tap.
Where do I take a water sample if my whole house is softened?
Put the softener into bypass, run the nearest cold tap for two to three minutes, and test two draws taken a minute apart. When they agree, that is your raw hardness. Do not bypass while the softener is regenerating, and remember to return the valve to service afterwards. If you cannot operate the bypass, ask your utility for the current hardness in your area or have the installer take a sample at the softener inlet.
How long can a water sample sit before a hardness test?
For a home strip or drop kit, test within about 15 minutes of drawing the sample, before it warms up or loses carbon dioxide. For a lab, follow the bottle instructions exactly. Hardness bottles are often pre-dosed with an acid preservative that keeps the sample stable for much longer, but only if you fill to the line without rinsing and deliver within the lab's stated window.
Why does my hardness test give a different number every time?
Usually because the samples were not taken the same way. Different taps, different flush times, hot versus cold, or a softener that was mid-regeneration will each move the result. If you control all of those and the number still moves, the source itself is changing: many utilities blend wells and surface water by season, and private well chemistry shifts with the water table. Take two samples on different days before acting on any single result.
