
How to Test Water Hardness at Home
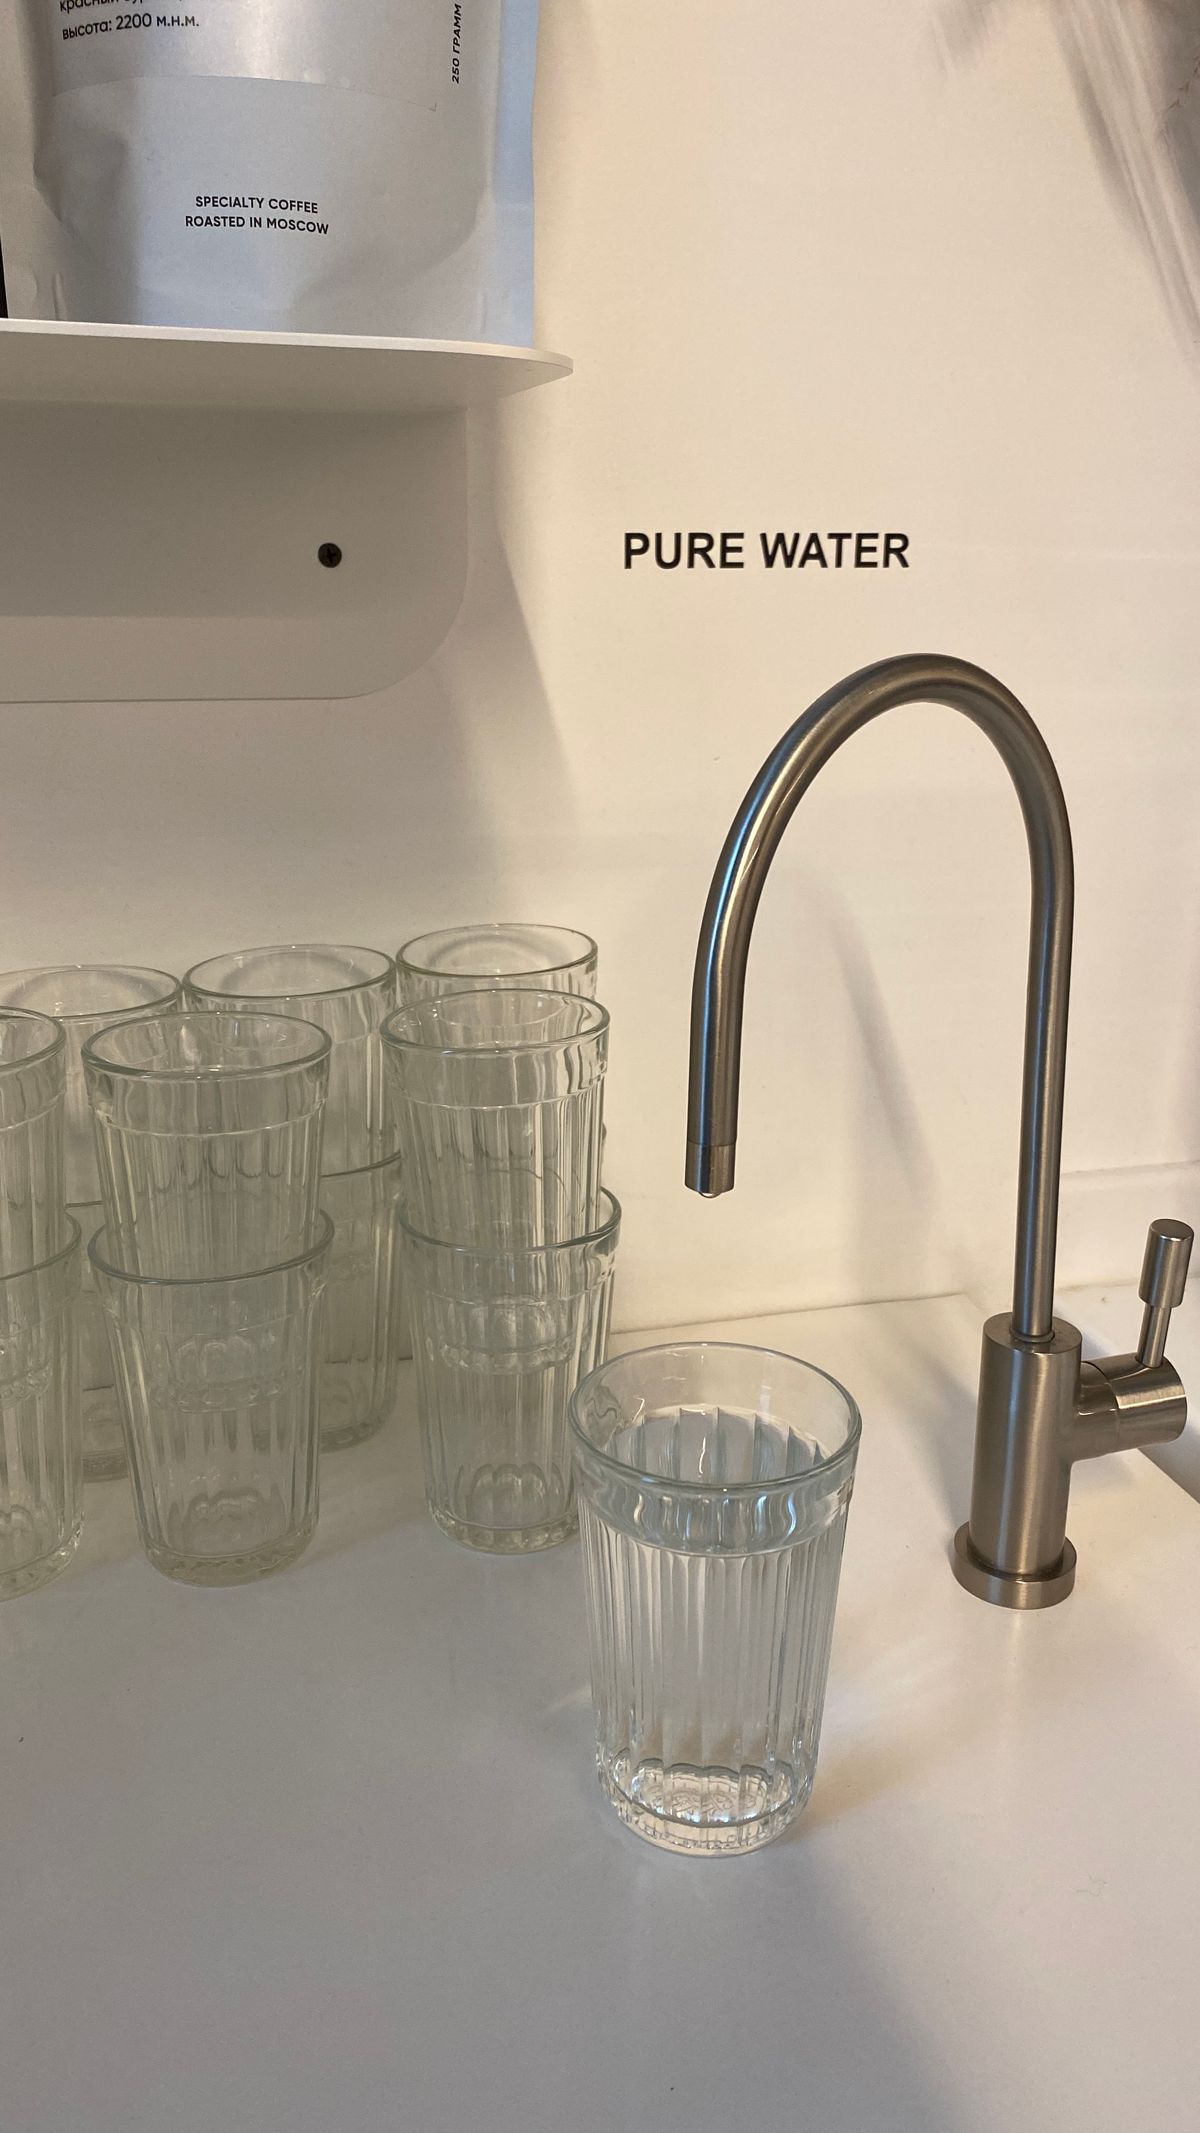
Knowing how to test water hardness at home comes down to three realistic options: a dip strip for a same-day answer, a titration drop kit when you need precision, or your water utility's annual report, which is free and already published. All three give you a usable number in under ten minutes.
What separates a good result from a misleading one usually isn't the kit. It's where you draw the sample and how you handle it — and that part is almost never explained on the packaging.
How to Test Water Hardness at Home: The Three Methods Compared
| Method | Cost | Time | Accuracy | Best for |
|---|---|---|---|---|
| Test strips | $8–15 for 100+ | 30 seconds | ±1–2 gpg, banded | Screening, quick checks, before/after a softener |
| Titration drop kit | $10–20 | 3–5 minutes | ±0.5 gpg | Sizing equipment, settling a borderline result |
| Utility report (CCR) | Free | 5 minutes | Exact, but an annual average | Municipal supplies, a sanity check on any home test |
| Certified lab | $20–50 | 1–2 weeks | Definitive, plus other parameters | Private wells, or any result you're spending money on |
Most households should run a strip first and stop there. Move up a tier only if the strip lands you in the 7–12 gpg range, because that's where the decision to treat or not actually gets made, and where a banded reading isn't good enough to decide.
Method 1: Test Strips
The fastest option and accurate enough for most purposes.
- Run the cold tap for 30 seconds. This clears water that's been standing in the pipe, which reads differently from the water actually being supplied.
- Fill a clean glass — not a mug or a bottle that's held anything else.
- Dip the strip for the time on the bottle, usually one to two seconds. Longer isn't better; it leaches the reagent off the pad.
- Hold it flat and wait the specified interval, typically 15 seconds. Don't shake water off, and don't hold it vertically or the reagent runs.
- Compare to the chart in good light, ideally daylight. Kitchen LEDs shift colours enough to move you a band.
Four things that quietly ruin strip results: wet hands when you pull a strip from the bottle (the whole batch reacts), leaving the cap off, storing them in a humid bathroom, and using a bottle more than a year old. If your strips have been open a while and the reading looks implausibly low, that's usually why.
Strips read in bands — commonly 0, 25, 50, 120, 250, 425 ppm — so a result is a range, not a point. That's fine for telling soft from hard. It's not fine for telling 8 gpg from 12 gpg, which is a meaningful difference when it comes to sizing.
Method 2: The Titration Drop Kit
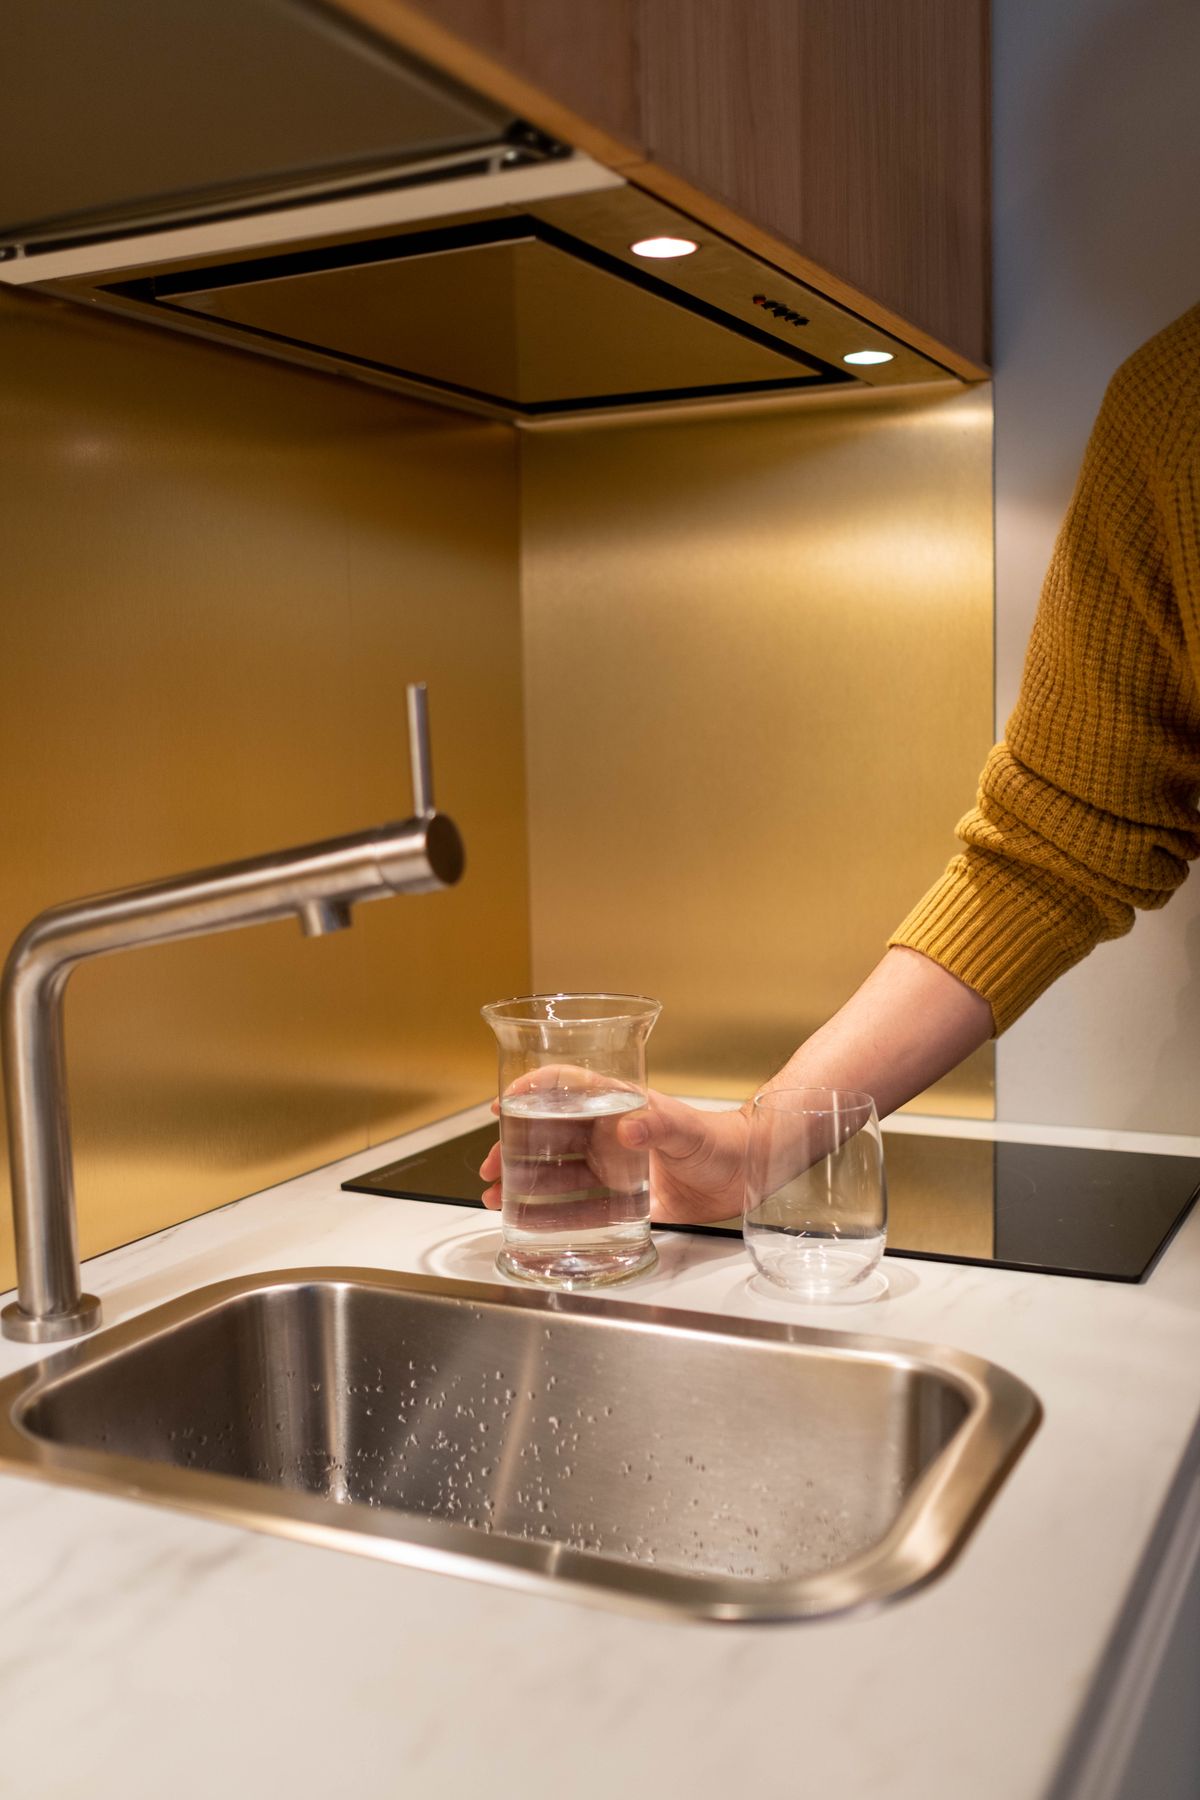
A titration kit is the most precise thing you can run on a kitchen counter, and it's barely more expensive than strips.
You get a vial and a bottle of indicator solution. Fill the vial to the marked line with your sample, then add the solution one drop at a time, capping and shaking after each, until the colour changes — usually pink to blue. The number of drops is your hardness in grains per gallon, one drop per grain on most kits.
Two habits make the difference. Count out loud, because it's easy to lose track around drop twelve. And hold the dropper vertically — a tilted dropper produces larger drops and inflates your reading by 10–20 percent.
This is the method to use if you're deciding on equipment. The difference between 9 and 13 gpg changes both the capacity you need and the salt you'll use every year, and a strip simply cannot resolve it.
Method 3: Your Utility's Water Quality Report
If you're on a public system, this is free and you don't need to test anything at all.
Every community water system in the US must publish an annual water quality report — a Consumer Confidence Report — and hardness is almost always in it. Search your utility's name plus "water quality report," or ask them directly.
Two caveats worth knowing before you rely on it:
It's an annual average across a service area. If your utility blends sources seasonally — common in systems that mix groundwater and surface water — your tap may sit well outside the published figure for months at a time. Program a softener to the annual average and it will run wrong for part of the year.
It won't be in grains per gallon. Reports use mg/L as calcium carbonate. Divide by 17.1 to convert, so 171 mg/L becomes 10 gpg.
Private well owners have no report to fall back on. The CDC's guidance on home water treatment is direct about the order of operations: test first, then choose treatment based on what the test shows.
The Sampling Mistakes That Ruin Results
Technique matters more than the kit. These are the errors that produce numbers people then act on.
Sampling from a treated tap. If the house already has a softener or filter, most taps give you treated water. You need an untreated one — usually an outside hose bib or a basement utility sink upstream of the equipment. Getting this wrong is the single most common cause of a nonsensical reading.
Testing hot water. Heating precipitates calcium out of solution, so a hot sample reads lower than the water actually entering your house. Always test cold.
Not flushing the line. Water sitting in pipe overnight has been in contact with plumbing and reads differently. Thirty seconds of flow fixes it.
Testing through an aerator. A scaled aerator sheds particles into the sample. Unscrew it, or use a tap without one.
Sampling a rarely used tap. A guest bathroom used twice a month holds stagnant water. Use a kitchen or main bathroom tap.
If you're testing to check whether an existing softener works, take two samples — one before the unit and one after — and compare. The pair tells you far more than either alone, and it separates an equipment fault from a plumbing fault immediately.
Reading Your Result
The U.S. Geological Survey and Penn State Extension classify hardness like this:
| Classification | Grains per gallon | mg/L as CaCO₃ | What it means for you |
|---|---|---|---|
| Soft | Under 1.0 | Under 17 | Nothing to do |
| Slightly hard | 1.0–3.5 | 17–60 | Occasional spotting at most |
| Moderately hard | 3.6–7.0 | 61–120 | Manageable with habit changes |
| Hard | 7.1–10.5 | 121–180 | Scale and soap costs become real |
| Very hard | Over 10.5 | Over 180 | Treatment usually pays for itself |
One reading tells you where you sit on that table and nothing else. It says nothing about safety, bacteria, lead, nitrate or the cause of a taste complaint — those are separate tests on the same sample. Hardness is a nuisance measurement, not a health one.
If your number surprises you, retest before acting on it. Two consistent readings taken on different days are worth far more than one. And if the result lands in the hard or very hard bands, the threshold for actually treating it is the next question to work through.
What to Do Next
- Test cold, untreated water with a strip, flushing the line 30 seconds first. Write the number down with the date.
- If you land between 7 and 12 gpg, follow up with a titration kit. That's the band where precision changes the decision.
- Cross-check against your utility's report if you're on a public supply. A big gap between the two usually means you sampled a treated tap.
Once you have a number, the symptoms start making sense — why soap won't lather, why white spots keep returning on fixtures, and what those minerals are actually doing inside your plumbing.
Frequently Asked Questions
How accurate are water hardness test strips?
Typically within 1 to 2 grains per gallon, which is accurate enough to decide whether you have a problem but not precise enough to size equipment. Strips read in colour bands rather than continuous values, so a result reads as a range. They also lose sensitivity once the bottle has been open a while or stored somewhere humid.
Can you test water hardness without a kit?
Yes, roughly. Add one drop of pure liquid soap to a capped bottle holding 250 ml of cold tap water and shake for ten seconds. Keep adding drops until lather survives 30 seconds. One or two drops means soft water; six or more means hard. It screens rather than measures, but it costs nothing.
Where should I take the water sample from?
An untreated cold tap that gets used regularly, with the aerator removed and the water run for 30 seconds first. Avoid any tap downstream of a softener or filter, avoid the hot side entirely, and avoid taps that sit unused for days. Sampling from a treated line is the most common reason a home result makes no sense.
How often should you test water hardness?
Once a year is enough on a stable municipal supply, and twice a year on a private well because groundwater chemistry shifts with the water table. Retest immediately after your utility changes source, after any well work, or when a previously fine softener starts letting hardness through.
What is a normal water hardness reading?
There is no single normal — US supplies range from under 1 to over 25 grains per gallon depending on local geology. Roughly 85 percent of American homes have some degree of hardness. Anything under 3.5 gpg is considered soft to slightly hard, and above 10.5 gpg is very hard.
