
Why a Water Softener Leaks at the Control Head
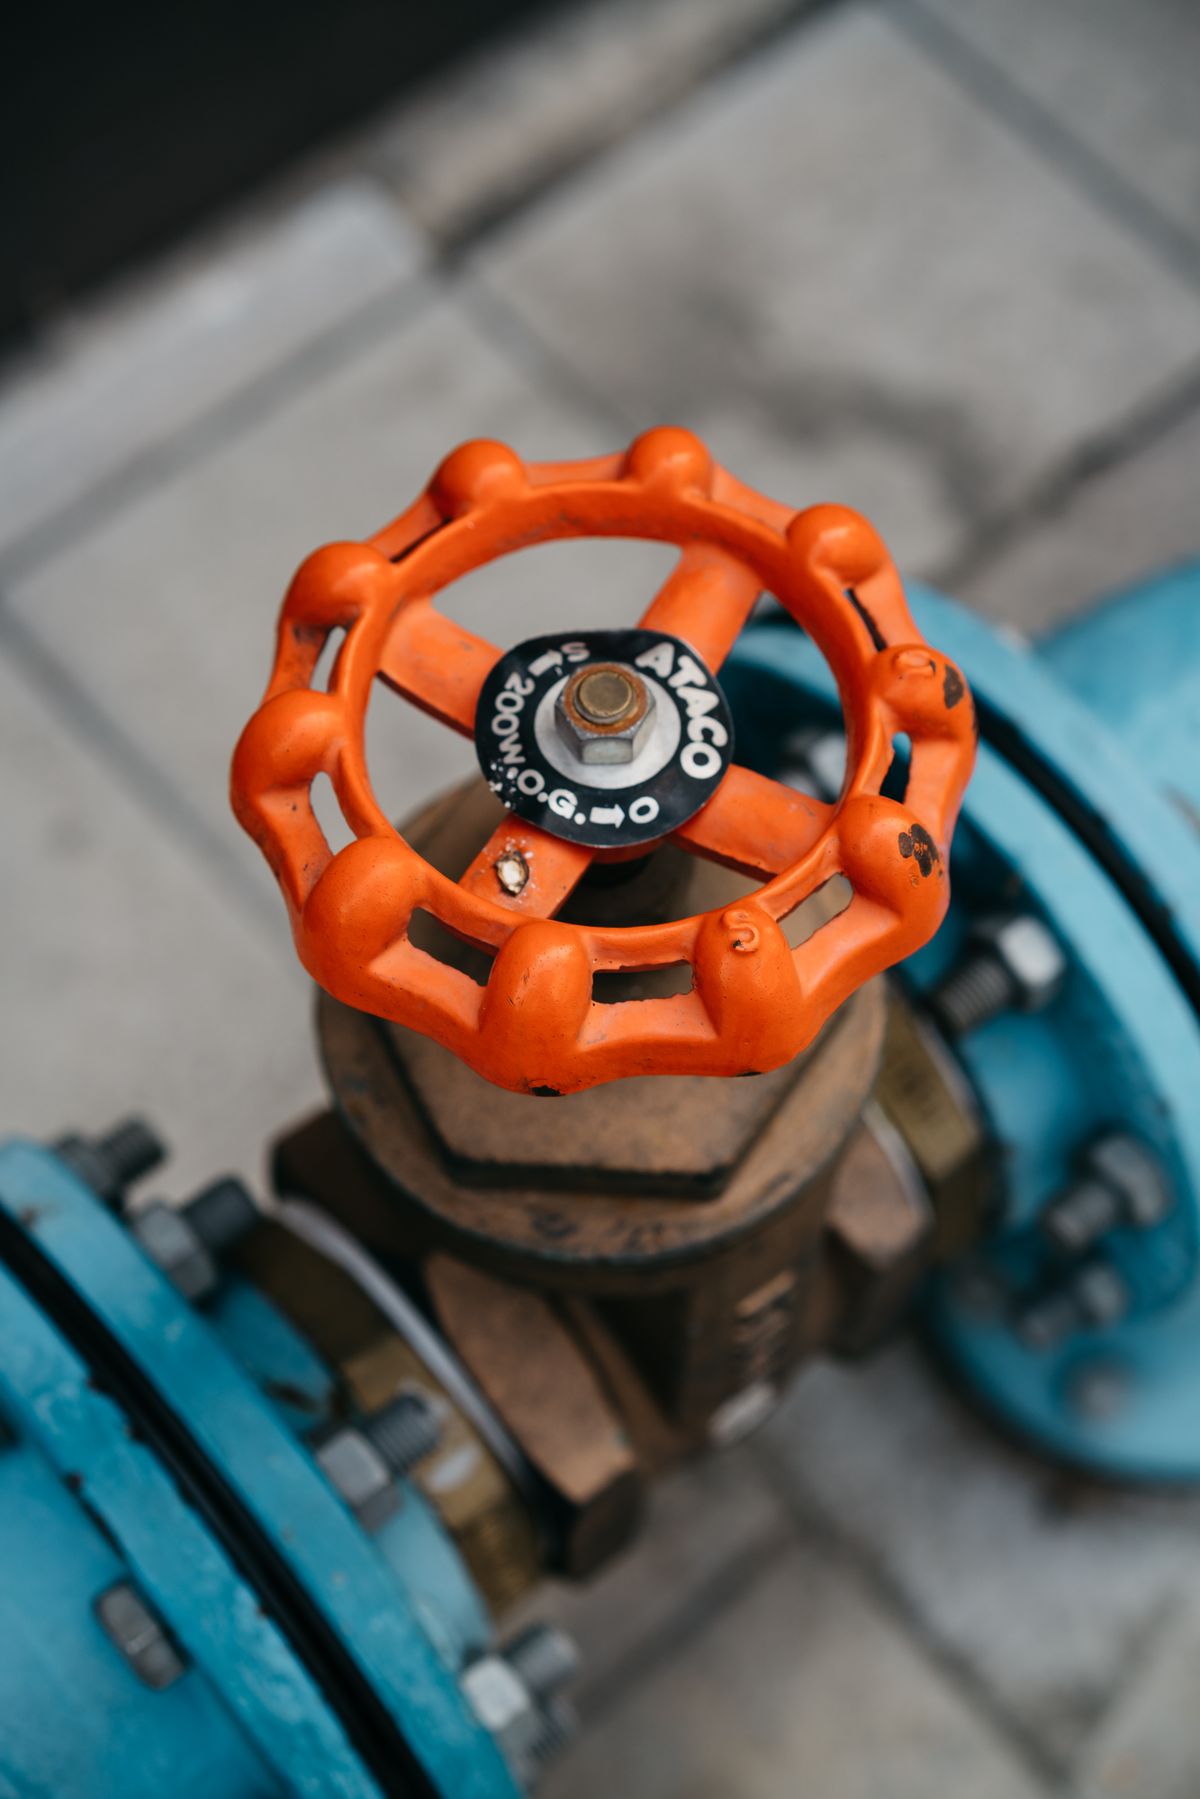
A water softener leaking at the control head has one of four sources: the inlet and outlet connection O-rings, the large tank O-ring where the valve screws onto the resin tank, the valve's own seals and end caps, or a crack in the valve body. The first three are inexpensive rebuild parts. A cracked body — often from freezing — means a new valve.
The hard part is not the repair. It is finding which of the four you actually have, because water travels before it drips.
The Four Places a Control Head Leaks
Picture the top of the softener from the side. Every external leak on the head comes from one of the zones labelled below.
              ┌─────────────────────────────┐
              │   COVER / MOTOR / BOARD     │   (no water in here)
      [C] ──► │  end cap · piston rod seal  │ ◄── [C] injector cap,
              │       VALVE BODY            │         drain fitting
   [A] ══►════╡  inlet / outlet / bypass    │
              │                             │ ◄── [D] crack anywhere
              └──────────┬──────────┬───────┘       in the body
                   [B] ──►  tank    │
                         │  neck +  │
                         │  O-ring  │
                         │          │
                         │  RESIN   │
                         │  TANK    │
| Label | Leak point | Why it fails | Typical fix | Rough cost tier |
|---|---|---|---|---|
| A | Inlet, outlet and bypass connections at the back of the valve | O-ring pinched, dried out, or pushed off-axis by pipes that do not line up | Replace connection O-rings; support the pipework | Low — O-rings |
| B | Tank-to-valve joint (the big threaded neck) | Tank O-ring flattened, nicked or dry after years under compression | Replace the tank O-ring | Low — one O-ring |
| C | Valve body openings: piston end cap, injector cap, drain fitting, brine port | Worn internal seals and spacers, a cap not seated, a cracked cap | Seal-and-spacer kit, sometimes a piston; new cap | Moderate — seal kit plus labour |
| D | The valve body itself | Freeze damage, over-tightening, impact, age | Replace the control valve | High — new valve |
What these tiers mean in money. Connection and tank O-rings on common valves are typically a few dollars each. A seal-and-spacer kit, with a piston if needed, is usually tens of dollars in parts on popular valves and more on proprietary brands. A replacement control valve is usually several hundred dollars before labour. Prices vary widely by brand and by whether the valve is a standard one or a dealer-only design, so treat these as orders of magnitude rather than quotes.
One leak that never shows at the head. The distributor tube — the pipe running down the middle of the resin tank — seals into the valve with its own O-ring. When that O-ring fails, water bypasses the resin internally. You get hard water and sometimes resin beads at the taps, but nothing on the floor. If that is your symptom, the evidence to look for is described in resin beads in household plumbing.
The Dry-and-Mark Method: Finding the First Wet Spot
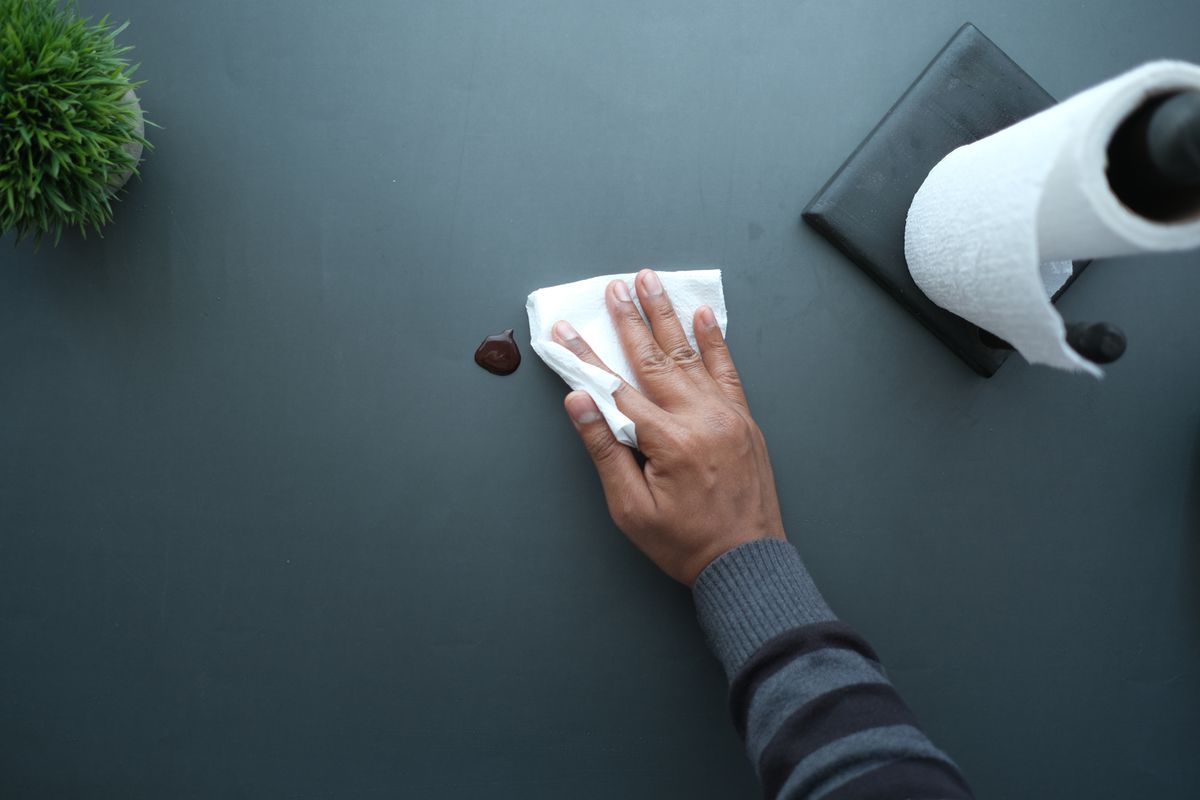
Water on a softener runs along the underside of the valve, drips off the lowest edge, and trickles down the tank. A leak at the back connection can drip from the front. A leak at an end cap can wet the tank neck. Looking at where the puddle is tells you almost nothing. Looking at where the water appears first tells you everything.
You need: a roll of plain white paper towel, a permanent marker, a torch, some masking tape, and about ninety minutes when you can watch a regeneration.
- Dry everything completely. Towel off the valve, every connection and the top of the tank. A hair dryer on a low setting helps get into crevices. Any damp area you leave will fool you later.
- Wrap each zone separately. Use a separate strip of paper towel around each connection nut at the back (zone A), around the tank neck (zone B), and around the end cap, injector cap and drain fitting (zone C). Tape the ends so each strip stays put and does not touch its neighbours.
- Label each strip with the marker — A1 inlet, A2 outlet, B neck, C1 end cap and so on.
- Wait in service for thirty minutes. Check every five minutes. Mark the first wet spot you see with a dot and the time. If a strip goes wet, the leak is under pressure in service.
- Then start a manual regeneration and keep checking. Some leaks only appear during backwash, when the valve sees different flows and the drain fitting is under pressure. Note the stage when a strip first darkens.
- Look for a line, not a patch. Paper towel wicks in all directions. The first mark is the origin; the spreading stain is just the towel doing its job. On a wide strip, the darkest point is usually right under the source.
- Check any strip that stayed dry once more after the regeneration ends. A strip that is still dry clears that joint.
Why this beats looking. Slow leaks deposit a trail of white mineral crust, which is useful, but crust shows where water has evaporated, not where it came out. Paper does not lie about timing: whichever strip goes wet first is closest to the source.
What the timing tells you:
| First wet during | Points to |
|---|---|
| Service, with no taps running | A static seal under full house pressure: tank O-ring, connection O-rings, or a crack |
| Service, only when water flows | A connection under strain from pipe movement, or a crack that opens under flow |
| Backwash or rinse only | Drain fitting, drain elbow O-ring, or piston end seals under regeneration flow |
| Brine draw only | Injector cap or brine line fitting |
If the wet spot turns out to be further down the drain line itself rather than at the valve, the repair is a different job — see why a water softener drain line leaks.
Water Softener Leaking at the Control Head Seam: The Tank O-Ring
The seam between the control valve and the tank neck is the most common control head leak on softeners more than a few years old. The tank O-ring has been squashed flat since the day the valve was installed, and eventually it takes a set, hardens and stops springing back.
The signature. A slow weep that shows first on the "B" strip, often worse after the house water pressure has spiked, with a crust of white mineral around the full circumference of the neck. Water runs down the tank walls and pools at the base, which is why people often think the tank itself is leaking.
How to replace it:
- Bypass and unplug. Put the softener in bypass and disconnect power.
- Relieve pressure. Start a manual regeneration for a few seconds, or open the lowest softened tap, until flow stops. Fleck's manual is explicit that "the system must be depressurized before removing any connections for servicing".
- Disconnect the drain and brine lines. Note which is which.
- Unscrew the valve counterclockwise. Keep it level and lift straight up. Tip it and you disturb the distributor tube and risk getting resin into the valve.
- Remove the old O-ring and compare. A flattened, square-section ring or one with a nick confirms the diagnosis.
- Clean the tank threads and the valve groove with a clean damp cloth. A grain of resin or grit in the groove is enough to cause a new leak.
- Lubricate the new O-ring with silicone grease only. Fleck's installation steps say to lubricate the distributor O-ring seal and tank O-ring seal and note "only use silicone lubricant". Clack is blunter, warning that hydrocarbon lubricants such as petroleum jelly or WD-40 damage O-rings and plastic parts and "can cause leaks or breakage" (Clack WS1 service manual).
- Guide the valve back over the distributor tube so the tube seats into its pilot, then thread on by hand until snug. Do not use a wrench on the valve body.
- Reconnect, return to service slowly, and repeat the paper towel test for one full regeneration.
Why hand-tight is right. The O-ring does the sealing, not the thread. Over-tightening crushes the ring out of its groove and stresses the plastic neck and valve body — which is how some zone D cracks start.
Leaks From the Valve Body Openings: Seals, Spacers and Caps
The valve body has several openings closed by caps or fittings: the piston end cap or end plug, the injector cap, the drain fitting and the brine port. Each seals with its own O-ring.
External cap leaks. If the strip around a cap goes wet in service, check that the cap is fully seated and not cracked. On Clack valves the manual says caps and nuts "only need to be firmly hand tightened because radial seals are used", and warns against pipe wrenches and against using a screwdriver in the slots to force them. A cap that leaks when hand-tight has a damaged O-ring or a crack, not a tightness problem.
Leaks at the piston end. The piston slides through a stack of seals and spacers inside the body. When those wear, water can escape along the piston rod and appear at the end cap — and, more often, it leaks internally to the drain. Fleck's troubleshooting table lists "internal valve leak" and directs you to "replace seals and spacers and/or piston". If your leak shows at the piston end and you also hear water trickling to drain between cycles, the seal stack is the common cause of both. A continuously running drain is covered in detail in why a water softener is constantly draining.
Drain fitting leaks. The drain elbow or fitting on top of many valves is pushed in and held by a clip, sealed with an O-ring, and houses the drain line flow control. It only sees real pressure during backwash and rinse, which is why it often leaks only during regeneration. A new O-ring usually fixes it. If you use threads here, Clack specifies Teflon tape on the threaded drain fitting and no pipe dope.
Rebuilding a seal stack yourself. On popular valves this is a well-documented DIY job with the valve in bypass and depressurised: remove the powerhead or motor assembly, pull the piston, pull the seal stack, fit the new kit lubricated only as the manual instructs, and reassemble. Two cautions. Some seal kits are designed to go in dry or with specific lubricant only, so follow the valve's own manual rather than a generic guide. And the stack must go in the right way round; directional lip seals installed backwards leak immediately.
The Freeze-Crack Signature
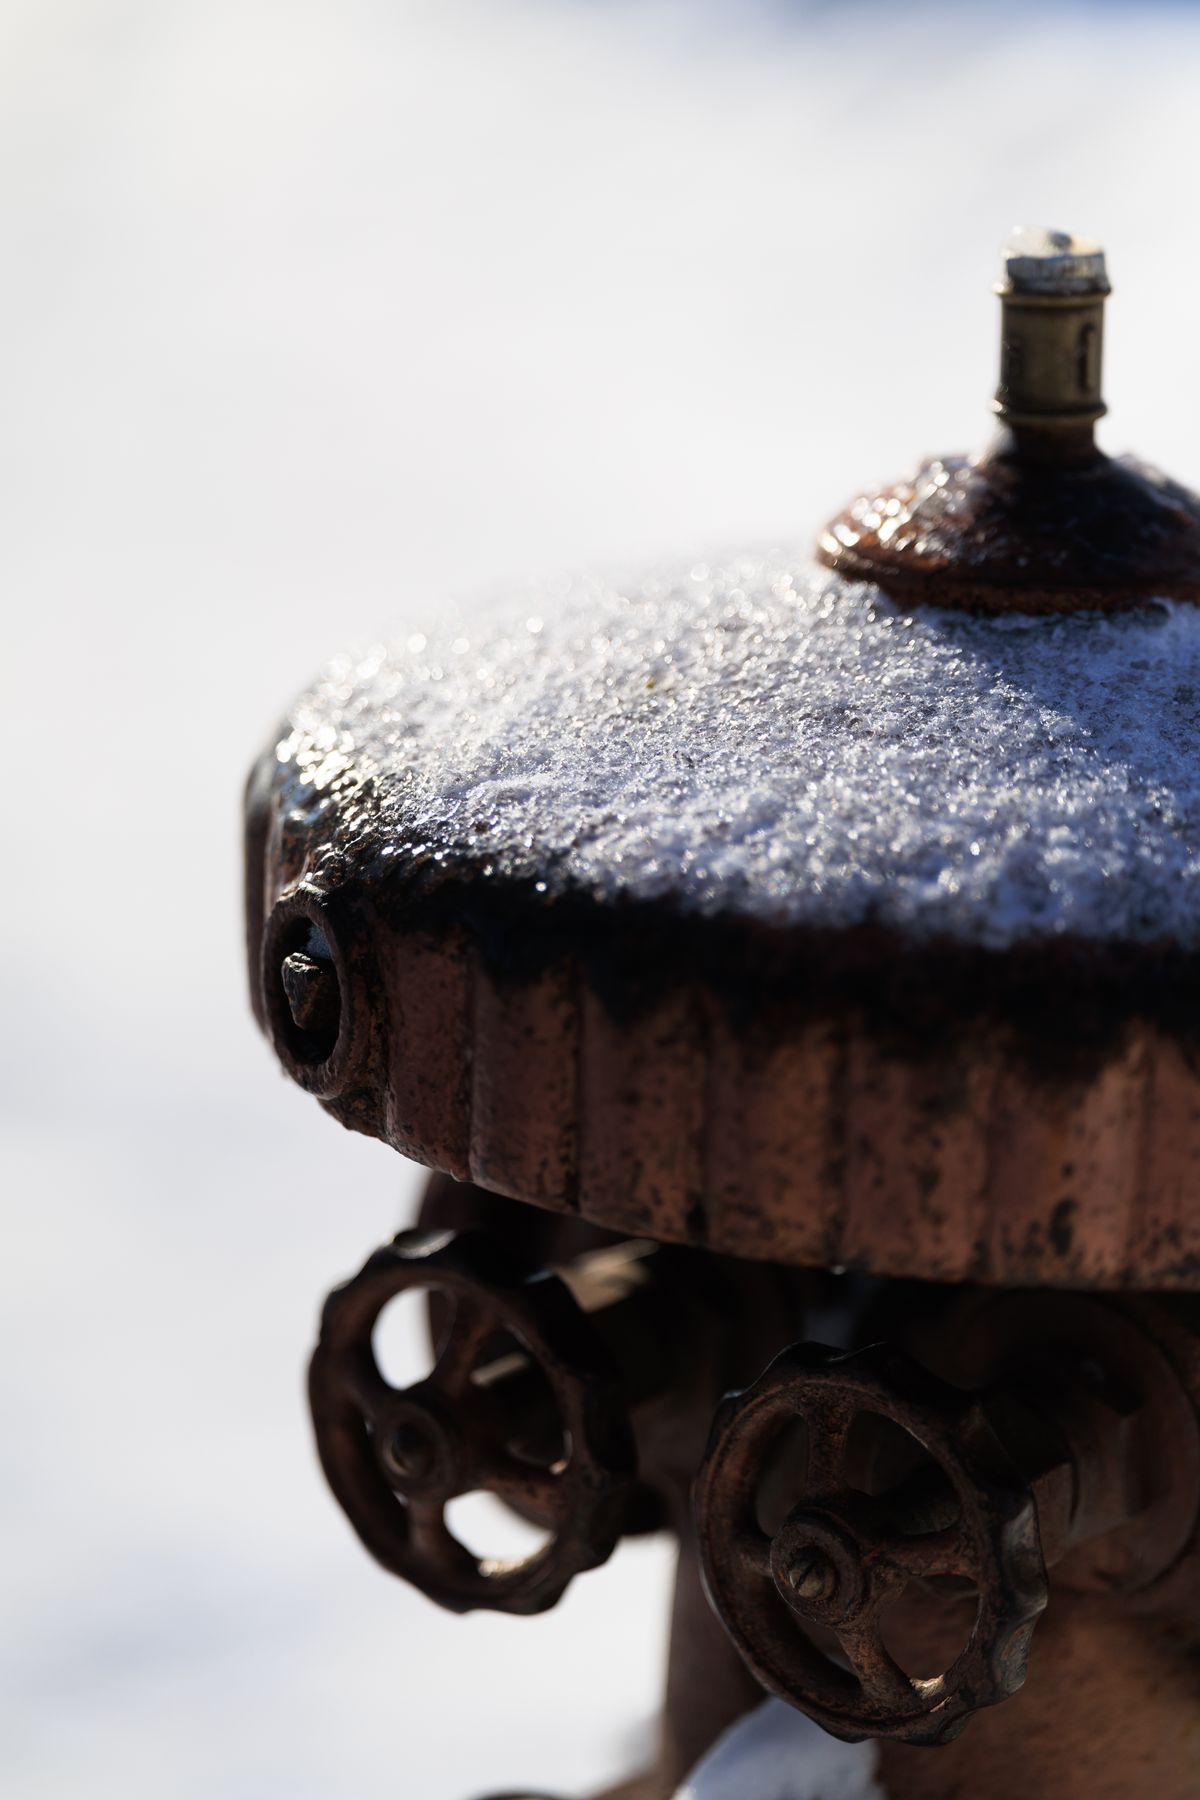
A freeze crack is the one control head leak that looks cheap and is not. The Fleck 5600SXT service manual states the unit "cannot be subjected to freezing conditions", and Clack advises letting a valve that has been exposed to freezing "warm up to room temperature before running water through it". Softeners in garages, crawl spaces, unheated utility rooms and vacation homes are the usual casualties.
How it tricks you. Water in the valve freezes, expands and splits the plastic. While frozen, nothing leaks. When it thaws, the crack weeps near a joint, you assume a seal, and you replace the O-rings. The leak continues.
How to recognise it:
| Clue | Seal or O-ring leak | Freeze crack |
|---|---|---|
| When it started | Gradually, over weeks or months | Suddenly, after a cold snap or a power/heating failure |
| Where the first wet spot is | Right at a seam, cap or nut | On a flat face, a corner or a thin section, often a short distance from any seam |
| What it looks like | Crust or drip around a circular joint | A fine straight or branching line; plastic may look whitened or stressed along it |
| Under pressure | Weeps or drips | Can weep, bead along a line, or mist when pressure is high |
| After new seals | Stops | Continues exactly as before |
Why it is terminal. A crack in a pressurised plastic body cannot be reliably glued, epoxied or taped. It may hold for a while and then fail completely, and a softener valve sits at full house pressure around the clock. The body — and on most residential valves that means the whole control valve — has to be replaced. Check the bypass and the tank neck too; they froze at the same time.
If the unit may have frozen but is not leaking yet, keep it in bypass, let the room warm fully, then return it to service slowly and run the paper towel test before trusting it again.
Why Rebuilt Heads Leak Again
A repeat leak within months of a good repair usually has an external cause the rebuild did not touch.
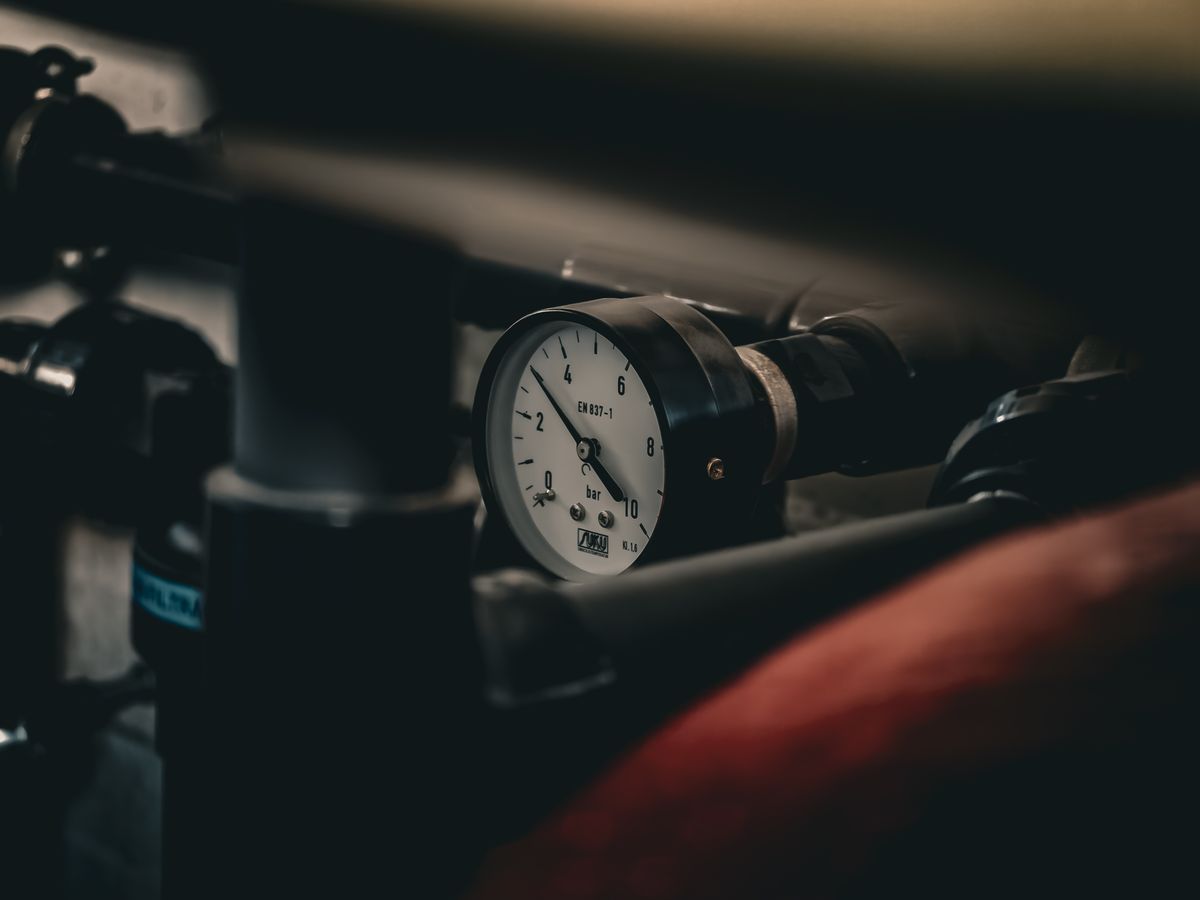
- High or spiking house pressure. O-rings that would last for years at moderate pressure fail early when they see high static pressure and repeated surges. Fleck rates its 5600SXT valve for a maximum of 125 psi, but that is a ceiling, not a target. A hose-bib gauge will tell you what you actually have; if pressure is high, a pressure reducing valve protects the whole house as well as the softener.
- Pipework pulling on the valve. Clack's manual notes that its bypass "is not designed to support the weight of a system or the plumbing". Pipes that are misaligned, unsupported or rigidly forced into position load the connection O-rings sideways. Support the pipes independently.
- The wrong lubricant. Petroleum-based grease swells rubber and O-rings fail again quickly. Silicone only.
- A second, undiscovered crack. If a valve froze once, check the bypass and fittings as closely as the body.
Rebuild or Replace?
| Situation | Sensible call |
|---|---|
| Leak at a connection or tank O-ring, valve otherwise working | Replace the O-ring — this is maintenance, not a failure |
| Leak at piston end or cap, plus water running to drain | Seal-and-spacer kit, possibly a piston |
| Crack anywhere in the valve body | Replace the control valve |
| Valve is a proprietary model with no available parts | Replace the valve, often with a standard one that fits the same tank thread |
| Softener is old, resin tired, several faults at once | Price a full replacement before rebuilding piecemeal |
Where you are unsure, or the valve is a dealer-only brand, calling a water softener technician costs less than buying parts for the wrong fault.
Stopping the Damage Tonight
- Put the softener in bypass so the house keeps water while the softener is isolated from pressure.
- Unplug the control head so a scheduled regeneration does not start overnight.
- If the leak is at the bypass or the pipes feeding it, bypass will not help. Close the isolation valves either side, or the main shut-off. That repair is in why a water softener bypass valve leaks.
- Get water away from the floor and walls. Towels, a tray, and a fan if drywall or flooring is wet.
- Leave the head alone until it is dry, then do the paper towel test in the morning.
A water softener leaking at the control head is rarely urgent in terms of parts and always urgent in terms of what water does to floors. Dry it, wrap it, mark the first wet spot, and let the paper tell you whether this is a few dollars of O-rings or the end of the valve.
Frequently Asked Questions
Why is my water softener leaking from the top?
Water at the top of a softener usually comes from one of four places: the inlet and outlet connections at the back of the valve, the large O-ring where the control valve screws onto the resin tank, the seals and end caps on the valve body itself, or a crack in the valve body. The first two are inexpensive O-ring repairs, the third is a seal kit, and a cracked body means replacing the valve. Wrap each area in dry paper towel and see which one gets wet first to tell them apart.
Can I tighten the control head to stop a leak?
Usually not, and over-tightening can make it worse. Most modern valves seal with O-rings rather than thread pressure, so the nuts and caps only need to be firmly hand-tight. Clack's service manual states plainly that if an installation fitting is leaking, tightening the nut will not stop the leak, and that the fitting should be removed and the O-ring checked for damage or misalignment. Cranking a plastic valve with a pipe wrench is a common way to crack it.
How do I replace the O-ring between the softener valve and tank?
Put the unit in bypass, unplug it and relieve pressure by starting a manual regeneration or opening a downstream tap. Disconnect the drain and brine lines, then unscrew the control valve from the tank neck counterclockwise, keeping it straight so the distributor tube is not disturbed. Remove the old tank O-ring, clean the threads and groove, fit the new O-ring with a thin coat of silicone lubricant only, then thread the valve back on and hand-tighten. Return to service slowly and check for drips.
Is a leaking water softener control valve worth fixing?
In most cases yes, if the leak is at an O-ring or seal. Tank O-rings, connection O-rings and seal-and-spacer kits are modest parts on common valves. It stops being worth fixing when the valve body itself is cracked, when parts for an old or proprietary valve are no longer available, or when the unit is old enough that the resin, motor and seals are all near the end of their lives at once.
What happens if a water softener freezes?
Water expands as it freezes, and the plastic valve body, bypass and tank connections can crack. Manufacturers state that units must not be subjected to freezing conditions. A freeze crack often looks like a seal leak at first, but it is usually a fine line in the plastic, often away from a seam, that weeps or sprays under pressure and does not stop when seals are replaced. A cracked body cannot be reliably repaired and the valve needs replacing.
Should I turn off my water softener if it is leaking?
Yes. Put it in bypass so the house still has water while the softener is isolated from pressure, and unplug the control head so a scheduled regeneration does not start. Bypassing stops leaks from the valve and tank joint. If the leak is at the bypass itself or at the pipe connections upstream of it, close the main shut-off or the isolation valves on either side of the softener instead.
