
Why Resin Beads Appear in Household Plumbing
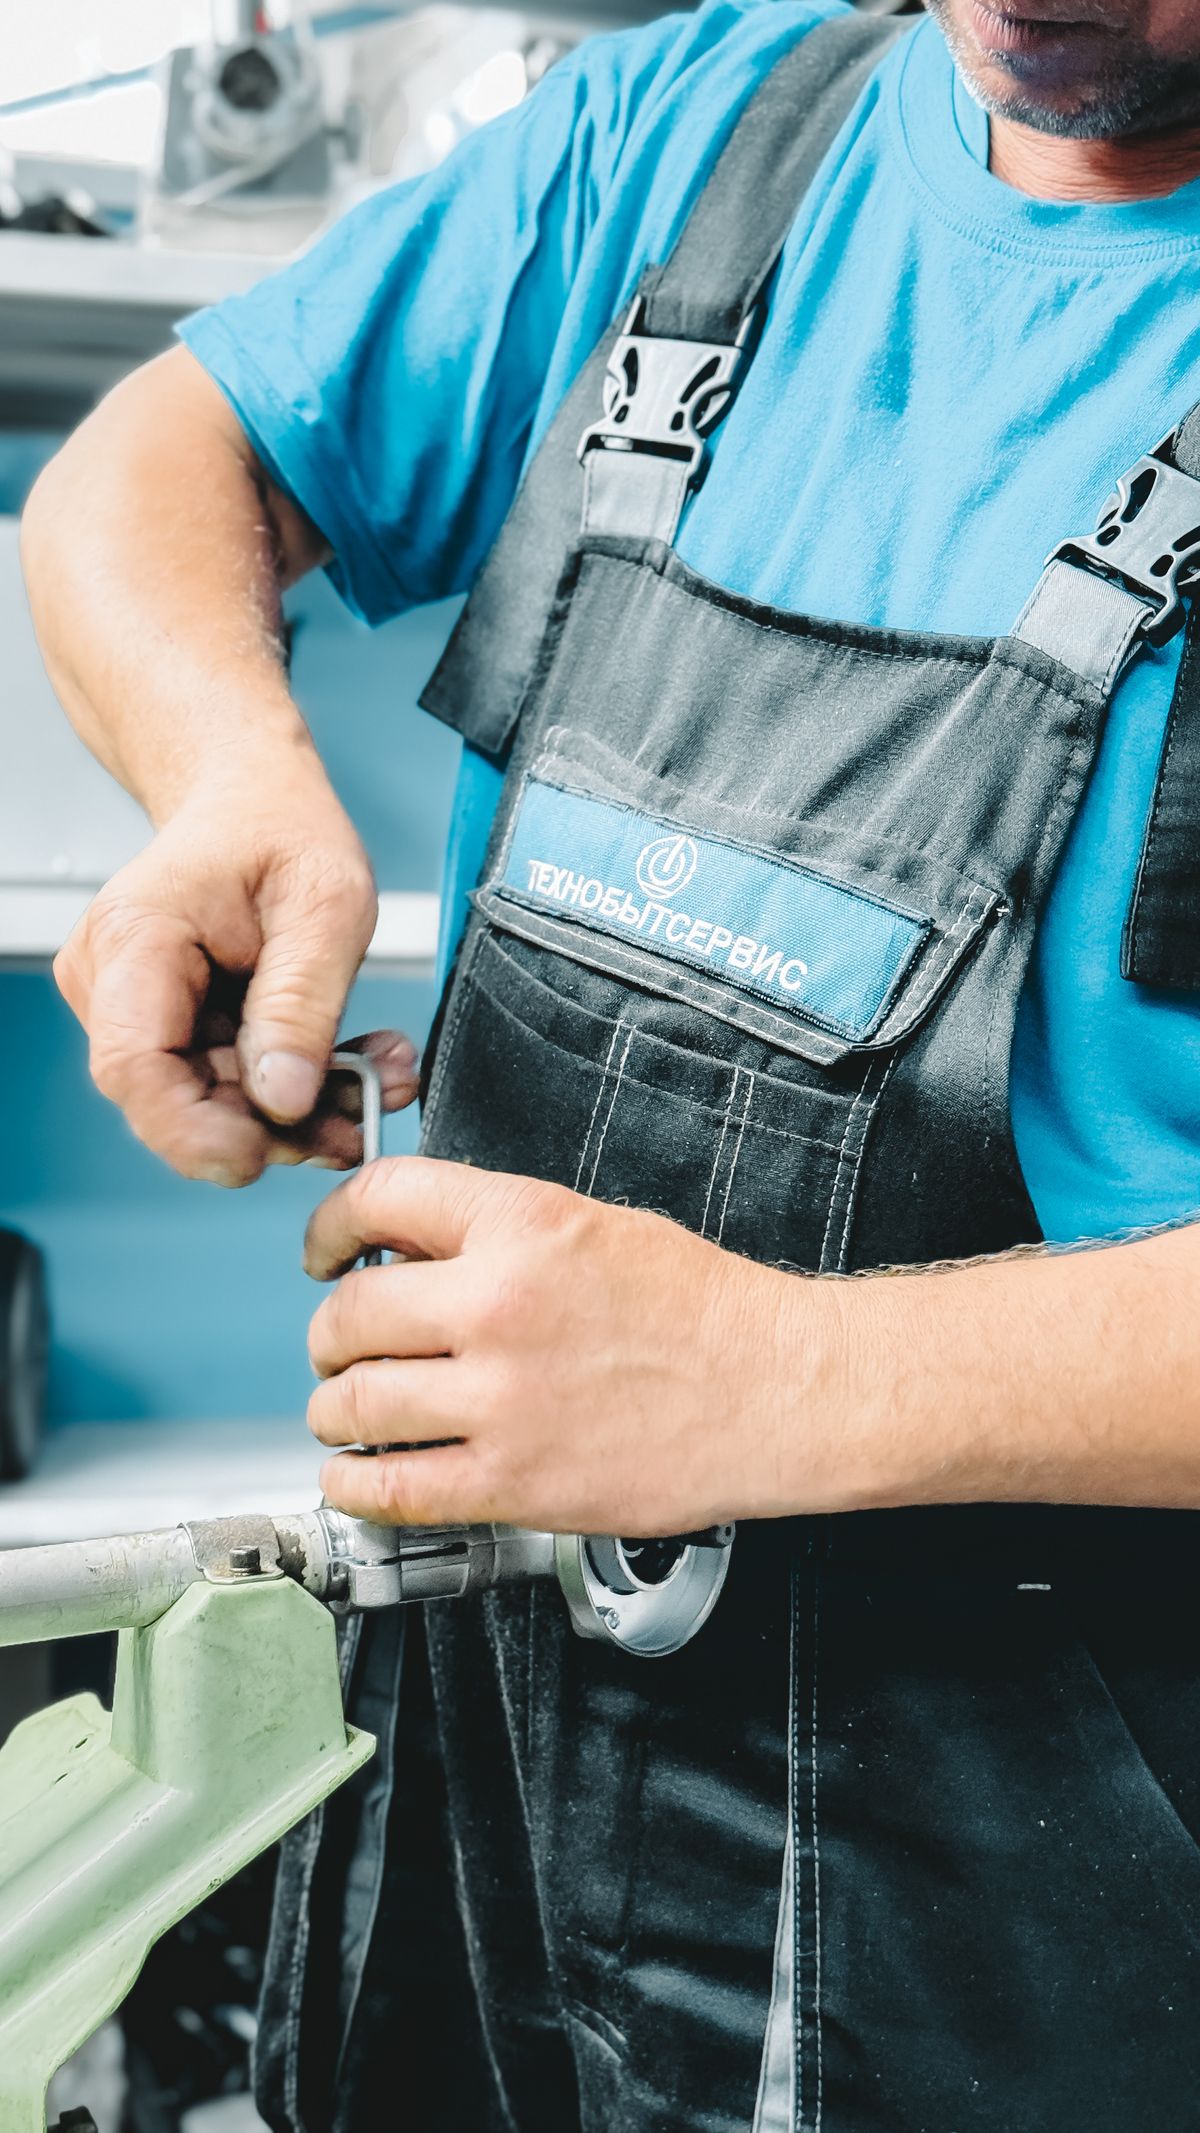
Resin beads in water lines mean something inside the softener tank has split. The bed is held in by three parts — the riser tube that runs up the centre, the bottom distributor basket, and the top screen in the valve — and beads can only reach the house if one of those three has failed. No setting, salt level or water chemistry produces this symptom.
Amber beads in an aerator are also a clock running. Every gallon drawn moves a little more resin out of the tank, so capacity falls until the failed part is replaced.
Confirm It Is Actually Resin
Before dismantling anything, make sure you are looking at resin. Catch some material from an aerator screen and check it against this:
| Property | Softener resin | Filter media or gravel | Manganese or rust flakes |
|---|---|---|---|
| Shape | Perfectly spherical | Angular, irregular | Flat, irregular |
| Size | Roughly 0.5–1 mm, very uniform | Mixed sizes | Mixed |
| Colour | Translucent amber to dark honey | Opaque, grey, black or white | Black or orange |
| Held to a light | Light passes through | Opaque | Opaque |
| Crushed between fingers | Springy, deforms and recovers | Hard, shatters or resists | Smears |
| In water | Mostly sinks, some float | Sinks | Sinks |
Uniform, round and translucent means resin. If the specks are irregular or powdery, the diagnosis is different and it is covered in what causes black specks after a water softener.
A useful second reading: how much is arriving. A dozen beads over a week is a small breach — often a hairline crack in the riser tube. A teaspoon a day is a broken basket, and the bed is emptying into the house.
Which of the Three Parts Failed
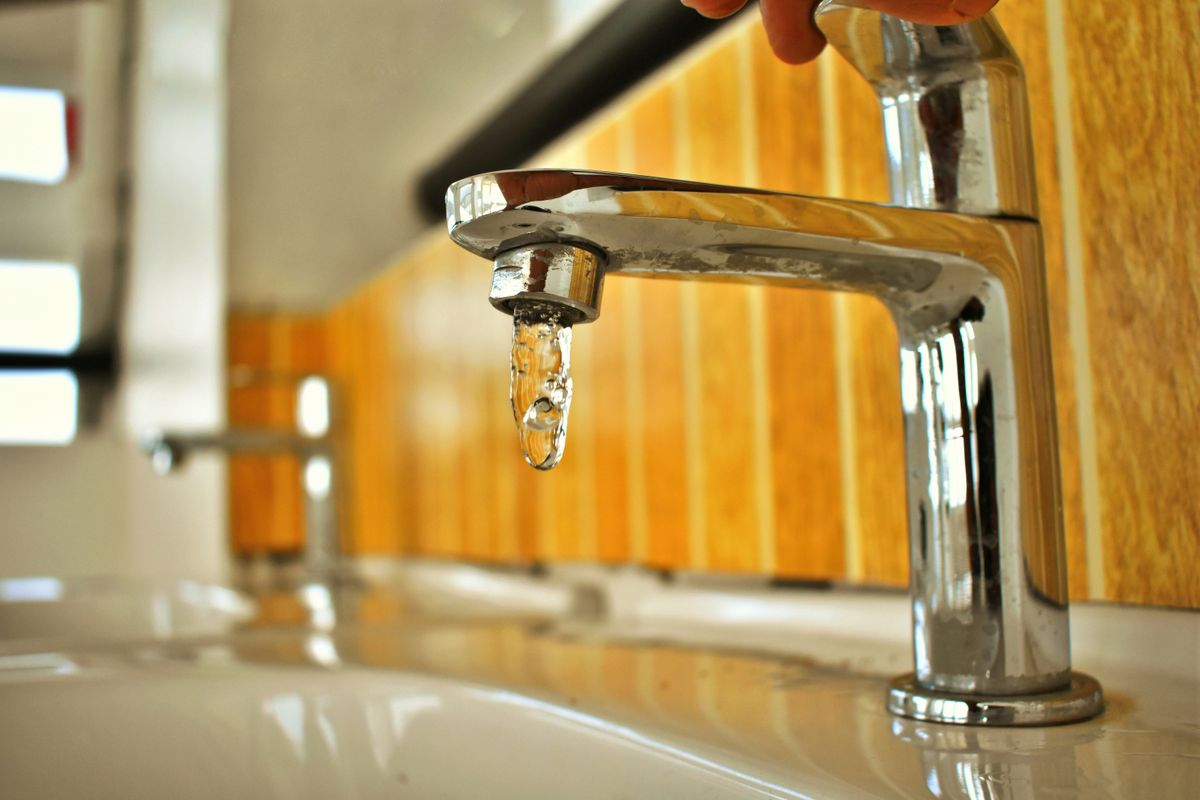
You do not need the tank open to make a reasonable first guess.
| Evidence | Likely failed part | Notes |
|---|---|---|
| Beads at house taps, slow trickle over weeks | Cracked riser tube, or a slipped riser O-ring | Most common on units 8+ years old |
| Beads at house taps, arriving fast | Bottom distributor basket collapsed | Bed drains like sand through an hourglass |
| Beads in the drain line only, during backwash | Backwash flow too high, or top screen damaged | Not a downstream problem, but still resin loss |
| Beads appeared right after a service visit | Riser not reseated, or tube cut short | Go back to whoever did the work |
| Beads plus sudden loss of softening | Significant volume already gone | Measure hardness now |
| Beads plus brown water on cycle days | Fouled, degraded bed shedding as well as escaping | See the iron diagnosis |
That last case overlaps with why water turns brown after softener regeneration — iron-degraded resin becomes brittle, and brittle beads and cracked internals often arrive together on well water.
Why these parts fail at all:
- Age and material fatigue. The riser tube is thin-wall plastic under constant pressure cycling. Fifteen years is a reasonable life; freeze exposure shortens it dramatically.
- Freezing. A garage or crawlspace install that froze once will often crack the tube even if the tank survived.
- Water hammer. Repeated pressure spikes stress internals. A quick-closing appliance valve with no arrestor is a common contributor.
- Installation damage. A riser tube cut fractionally short, forced into the valve, or left uncentred when the valve was tightened down.
- Chemical attack on the plastic, from strong oxidiser dosing upstream without adequate carbon protection.
Recovery: The Screens Almost Everyone Forgets
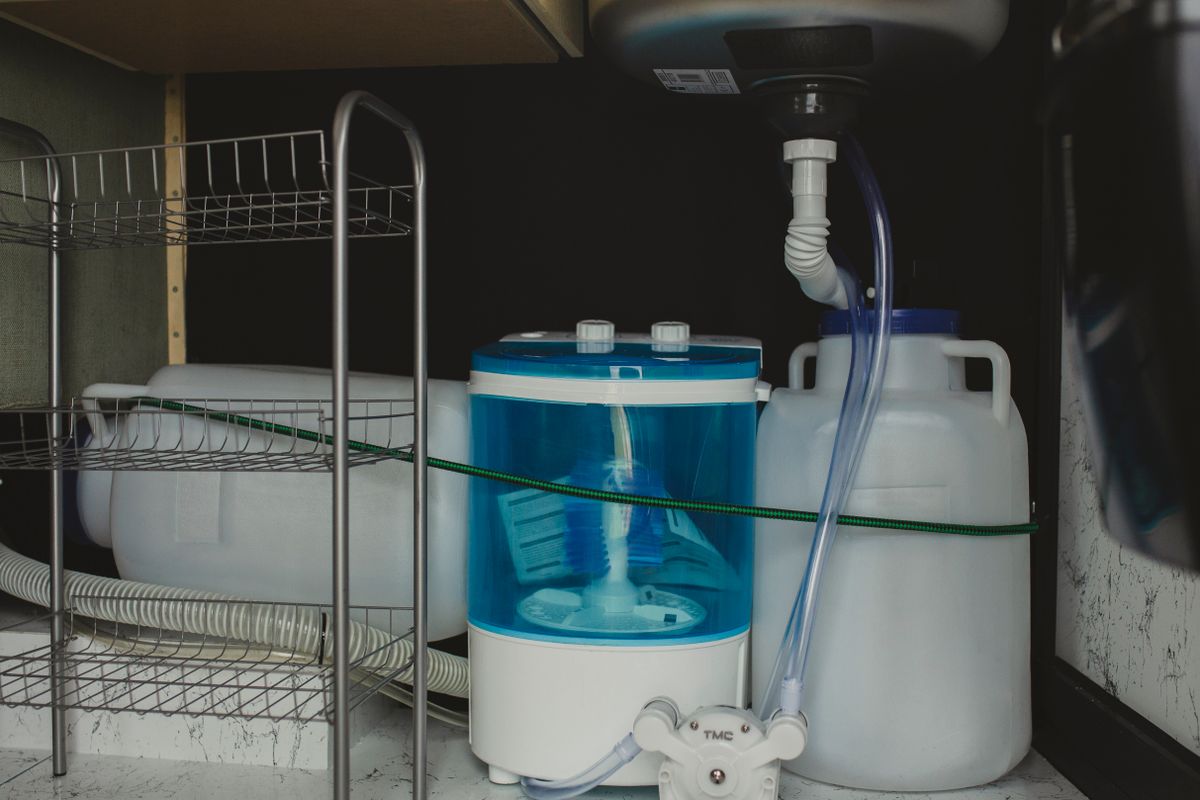
The repair fixes the source. It does not remove the beads already distributed through the house, and those keep causing symptoms for months if left.
Do this in order, with the softener in bypass so you are not flushing fresh beads through clean pipe.
Stage 1 — fixtures.
- Unscrew every aerator in the house, including utility and outdoor taps. Rinse and reinstall.
- Remove and flush every showerhead, and check the handheld hose if there is one.
- Open each cold tap fully with the aerator removed for five to ten minutes. Work from nearest the softener outward.
- Repeat for hot taps after the water heater step below.
Stage 2 — the water heater.
Beads settle in the bottom of a storage tank and stay there. Drain the heater fully, then refill and drain again. A tankless unit is different: shut it down, close the isolation valves, and clean the inlet screen filter, which will be blocked.
Stage 3 — appliance inlet screens. This is the stage that gets skipped, and it is where the beads actually cause trouble:
| Appliance | Where the screen is | Symptom if left blocked |
|---|---|---|
| Dishwasher | Inlet valve, behind the hose connection | Long fill, mid-cycle error, poor wash |
| Washing machine | Both hose connections at the rear | Slow fill, unbalanced temperature, fill fault |
| Refrigerator ice maker | Inline water valve and filter housing | Small or hollow cubes, slow production |
| Tankless water heater | Dedicated inlet filter | Flow error codes, burner cutting out |
| Reverse osmosis unit | Prefilter housing | Shortened membrane life |
| Whole-house filter housing | Cartridge itself | Pressure drop across the housing |
| Toilet fill valves | Inlet screen in the valve | Slow refill, running fill valve |
| Thermostatic shower or mixing valve | Cartridge screens | Temperature swings, scalding surges |
The ice maker is worth special attention because the fault it produces gets blamed on hard water instead — the overlap is covered in can hard water damage a refrigerator ice maker.
Stage 4 — containment while you work. A five-micron whole-house cartridge downstream of the softener catches stragglers during the recovery period. Fit it if the repair is not happening immediately, and expect to change it often.
If the whole house has lost pressure rather than one fixture, be aware that beads in aerators and blocked screens look identical to scale restriction from the tap — can scale buildup reduce household water pressure covers how to tell a restriction at the fixture from a restriction in the pipe.
How Much Resin Is Gone? The Volume Check
This is the measurement that decides repair versus replacement, and it takes twenty minutes.
Put the unit in bypass, depressurise, open the top of the mineral tank and measure the distance from the top of the tank down to the surface of the resin bed with a tape or a marked dowel.
A correctly filled softener holds resin to a level that leaves freeboard — typically 35 to 50 percent of tank height — so the bed can expand during backwash. That is why you cannot judge loss by eye alone; a tank is meant to look part-empty.
| Finding | Interpretation | Action |
|---|---|---|
| Bed at expected level, freeboard normal | Minor loss only | Replace the failed part, keep the resin |
| Bed 10–20% lower than expected | Noticeable capacity loss | Replace part, top up resin |
| Bed 25%+ lower | Substantial loss | Replace part and rebed fully |
| Bed severely depleted, tank mostly empty | Basket failure | Full rebed; check the tank itself |
| Bed level fine but resin brown, mushy or clumped | Resin at end of life regardless | Rebed while the tank is open |
Cross-check with a hardness test. Measure treated hardness now and compare against what the system used to deliver. If soft water was reliable and is now breaking through early, capacity has genuinely gone — the diagnostic sequence is in why hardness returns before the next regeneration. If the water was never properly soft, the problem may predate the bead loss entirely: see why water is still hard after installing a softener.
Do not skip this check to save time. Replacing a distributor tube on a tank that has lost a third of its bed gives you a repaired softener that still cannot soften the house, and the next call is about hardness rather than beads.
Repair or Replace
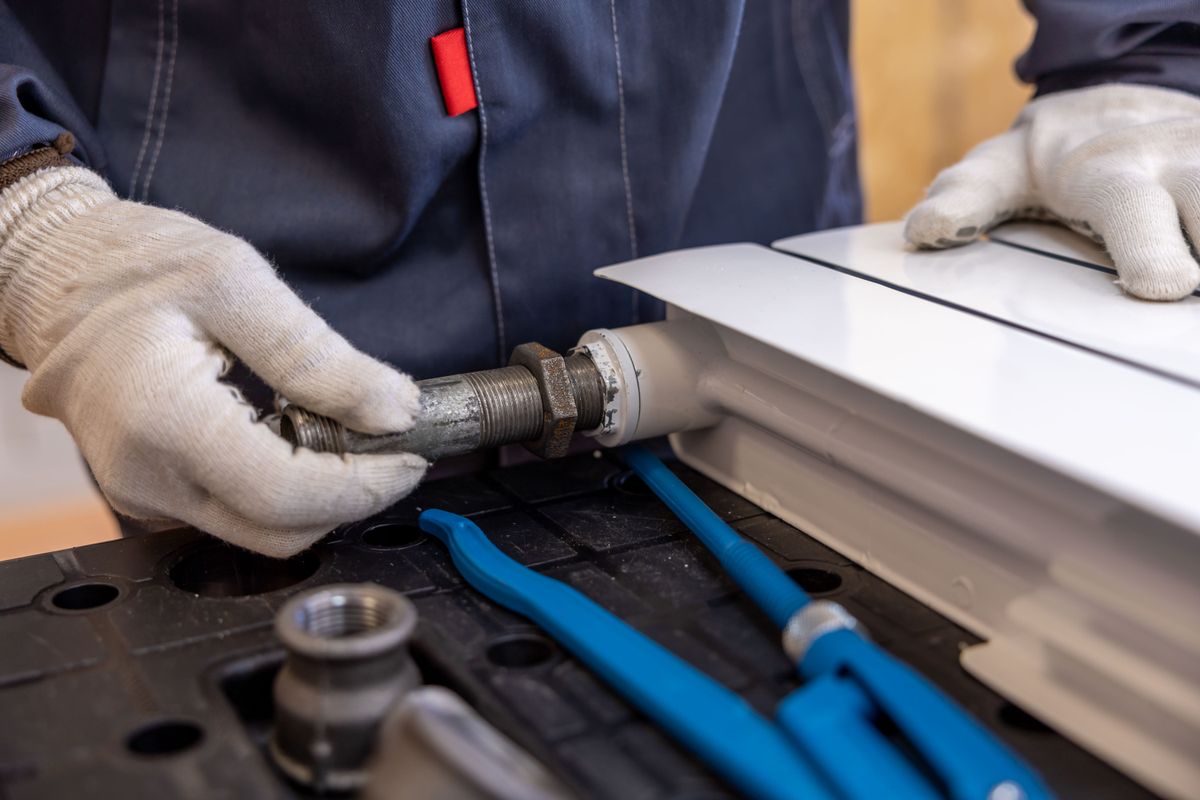
The parts are inexpensive. The labour is where the cost sits, because reaching them means emptying the tank.
What the repair involves:
- Bypass, shut off, depressurise, disconnect the valve from the tank.
- Remove the resin — usually siphoned out as a slurry, occasionally tipped, which needs two people and space.
- Replace the riser tube and bottom distributor basket as a pair. Fitting one and reusing the other on a fifteen-year-old unit is a false economy.
- Rebed: gravel underbed if the design uses one, then resin, with the riser held centred and capped so nothing drops down the tube.
- Reseat the valve with new O-rings, refill, and run two full manual regenerations before trusting the water.
Where the decision usually lands:
| Age and condition | Sensible call |
|---|---|
| Under 8 years, valve sound, tank sound | Repair — clearly cheaper |
| 8–12 years, resin still good, valve working | Repair, and fit a sediment filter downstream |
| 8–12 years, resin degraded too | Repair plus full rebed, or price replacement |
| Over 15 years, or valve seals also failing | Replace — you are rebuilding most of the unit anyway |
| Tank bulging, distorted or weeping at the seam | Replace the tank; do not rebed a suspect pressure vessel |
| Valve obsolete, parts unavailable | Replace |
If you are buying rather than repairing, check what the replacement has actually been certified for rather than what the brochure claims — WQA's product listings show tested performance, and the EPA's overview of cation exchange water softeners is a sober description of what the technology does and does not do. Penn State Extension's guide to water softening covers the sizing basics worth revisiting before replacing like for like.
Preventing the Next One
- Check aerator screens twice a year. A dozen beads caught early is a riser tube; a teaspoon a day is a rebed.
- Protect against freezing. Any softener in a garage, crawlspace or unheated basement should be drained or heat-protected before winter.
- Fit a water hammer arrestor if the plumbing bangs when an appliance valve shuts.
- Keep the backwash flow within spec. Too high sends resin out of the drain — the flow measurement is in why water turns brown after softener regeneration.
- Insist the riser tube is measured, not trimmed by eye, whenever anyone rebeds the unit.
- Leave a sediment cartridge downstream on older units. It costs little and turns the next failure into an inconvenience rather than a house-wide recovery job.
Resin in the plumbing is one of the few softener faults where the diagnosis is certain before you open anything. The only real decisions are how much of the bed is left, and whether a unit this old is worth the labour of putting a new one back in.
Frequently Asked Questions
What does it mean when resin beads get into the water lines?
It means the barrier that keeps resin inside the mineral tank has failed. In practice that is one of three parts: a cracked or split riser (distributor) tube, a broken bottom distributor basket or screen, or a damaged top screen in the valve. Resin cannot pass any of them while they are intact. It is a mechanical failure inside the tank, not a water chemistry problem, and it will not stop on its own — beads keep migrating out until the part is replaced.
Are water softener resin beads harmful if swallowed?
Softener resin is an inert food-grade polymer bead and small quantities passing through are not considered a poisoning risk, but that is not a reason to ignore them. Beads entering the house mean the bed is losing volume and the softener is losing capacity, and the beads themselves jam mixing valves, block appliance inlet screens and foul the seals in taps. Filter them out, fix the source, and do not treat it as cosmetic.
How do I get resin beads out of my plumbing?
Put the softener in bypass first, or you will flush the new water with more beads. Remove and clean every aerator and showerhead. Then flush each cold line at full flow with the aerators off — usually five to ten minutes per fixture, starting nearest the softener and working outward. Drain and refill the water heater. Finally clean the inlet screens on the dishwasher, washing machine, ice maker and any tankless or filtered supply, which is the step most people skip.
Can I repair a broken distributor tube myself?
It is achievable for a confident DIYer, but it is not a quick job. The tank has to be bypassed, depressurised and disconnected, the valve unscrewed from the tank, and the resin removed to reach the tube and bottom basket — commonly by siphoning it out as a slurry. Fitting the new tube and basket is straightforward, but the bed then has to be rebedded with gravel and resin, the tube held centred and sealed while the valve goes back on. Many owners get as far as opening the tank and then call a plumber.
Should I repair the softener or replace it after resin loss?
Age decides it. Under about eight years, with a sound valve and a tank that is not bulging, a new distributor tube, basket and resin charge is far cheaper than a new system. Over about twelve to fifteen, with an obsolete valve and resin already at the end of its working life, the parts and labour approach replacement cost and you gain nothing in efficiency. In between, the question is how much resin was lost and whether the valve has internal wear as well.
Will resin beads damage my water heater or dishwasher?
They rarely destroy anything outright, but they cause the failures people then attribute to something else. Beads collect in the bottom of a storage water heater and in the inlet screens of dishwashers and washing machines, where they restrict flow and cause slow-fill faults and mid-cycle errors. In mixing cartridges and thermostatic valves they cause temperature swings. In a tankless unit they block the inlet filter and trigger flow errors. All are recoverable if cleared promptly.
