
Why Water Is Still Hard After Installing a Softener
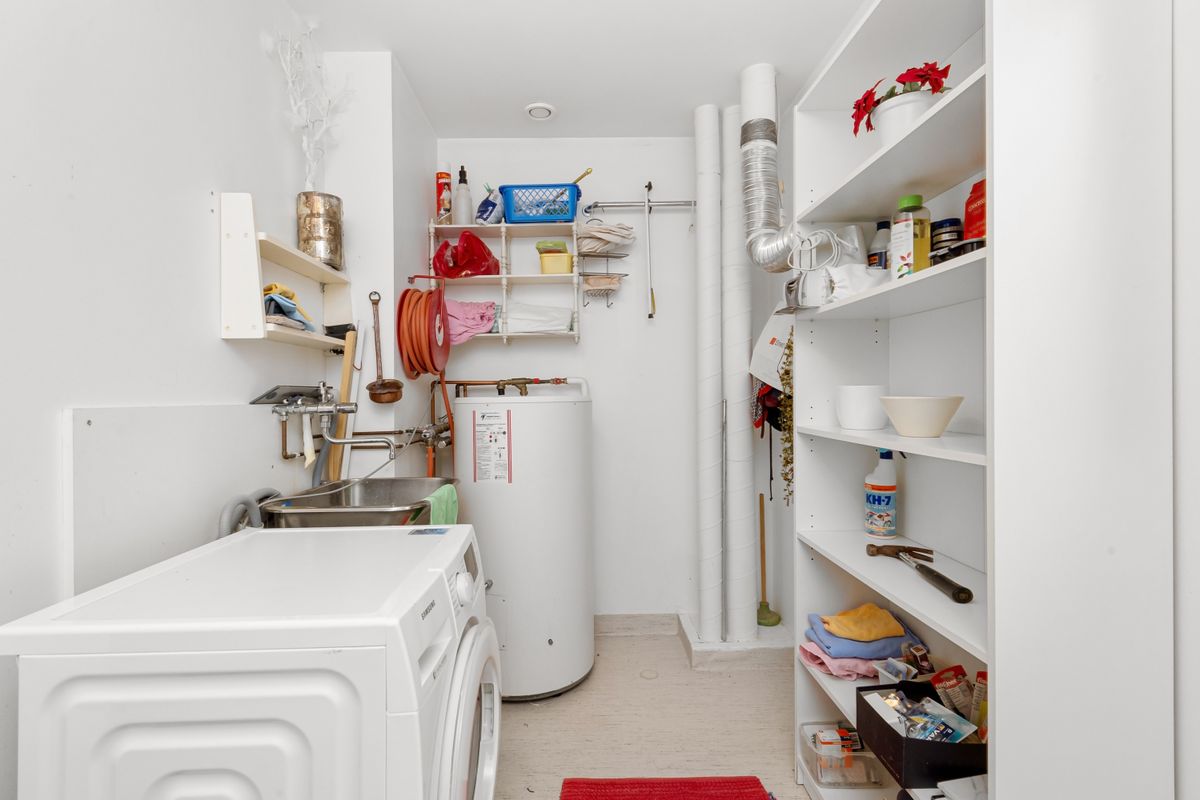
If water is still hard after installing a softener, the fault is far more likely to be a setting, a valve position or a sampling error than a defective unit. Before anything is dismantled, do one thing: test at the softener outlet rather than at the kitchen tap. That single sample splits the problem in half — it either proves the softener is producing soft water and the issue is downstream, or it proves the softener is not, and every plumbing theory can be dropped.
What follows is a diagnostic order built on one principle: everything that costs nothing comes before anything that costs money. Most of these cases are resolved in the first three steps. This page is also the hub for post-installation water quality faults on this site, so each section links out to the detail where there is more to say.
Step 0: Test at the Softener Outlet, Not the Kitchen Tap
This is step zero because it changes which half of the article you need to read.
Find the pipe leaving the softener and the nearest tap or sample port on it. Many installations include a small test cock; a utility sink in the same room is usually close enough. Draw a cold sample, remove any aerator first, run it until the temperature steadies, and test with a drop kit rather than a strip. Then read the result:
| Outlet reading | House fixture reading | What it means | Where to go |
|---|---|---|---|
| Zero | Zero | The softener works and the water is soft. The symptom is not hardness | Step 9 |
| Zero | Hard | The softener works. The plumbing between them does not | Step 8 |
| Hard | Hard | The softener is not producing soft water | Steps 1 to 7 |
| Low but not zero | Low but not zero | Partial treatment: a blend valve, a partly open bypass, or a unit running out mid-cycle | Steps 1, 2 and 6 |
That last row is worth pausing on. "Almost soft" is a different fault from "not soft", and it points at blending or at capacity rather than at a dead system.
If you are not confident in your testing technique, how to test water hardness at home covers the method, and common water hardness sampling mistakes covers the ways a sample misleads you. Both are worth five minutes before you act on a number.
Water Still Hard After Installing a Softener: The Nine Causes
| # | Cause | Cost to check | Typical tell |
|---|---|---|---|
| 1 | Bypass valve open or partly open | Free, 1 minute | Whole house hard immediately after install |
| 2 | Hardness setting wrong or never entered | Free, 5 minutes | Regenerates too rarely; hardness returns late in each cycle |
| 3 | Salt out, or bridged | Free, 5 minutes | Salt level unchanged for weeks |
| 4 | Not drawing brine | Free, 30 minutes | Salt level unchanged despite regenerations running |
| 5 | Not regenerating at all | Free, 20 minutes | No noise, no drain flow, clock reset after a power cut |
| 6 | Undersized or wrong capacity | Free to diagnose | Soft at the start of the cycle, hard before the end |
| 7 | Resin fouled, channelling or spent | Cheap to inspect | Capacity falls month on month; rusty water after regeneration |
| 8 | An unsoftened branch or a crossover | Free, 30 minutes | Some fixtures soft, some hard |
| 9 | The symptom was never hardness | Free | Test reads zero and the problem persists |
Step 1: The Bypass Valve
The single most common finding on a newly installed softener, and the most embarrassing to discover after a service call.
The bypass sits on the pipework directly behind the control head and has two positions: service, which routes water through the resin tank, and bypass, which routes it straight past. It is left in bypass during installation and commissioning, and it is supposed to be returned afterwards. Sometimes it is not. It is also easy to knock: it sits at knee height in a utility room next to where people store things.
Check the type you have:
- Single-lever or push-button bypass: the handle or buttons should be pushed fully in for service. Halfway is a real position and it blends hard water in.
- Two-valve or three-valve arrangement: the two inlet/outlet valves open, the bridging bypass valve closed. Any other combination blends or bypasses.
- Turn the valve fully both ways and back if the unit is old. A bypass that has not moved in years can be stiff enough that it feels seated when it is not.
If moving the bypass changes the outlet reading, you are finished. Reset any "days since regeneration" counter and let the unit run a cycle.
Step 2: The Hardness Setting
Second most common, and almost always a commissioning failure rather than a fault.
Control valves ship with a default hardness figure. It is a placeholder. If nobody entered your actual water hardness, the unit is calculating its capacity against a number from a factory in another country. Too low and it regenerates too infrequently — the resin runs out of capacity partway through the cycle and hardness appears at the tap in the days before the next regeneration.
To set it correctly you need three things:
- Your raw hardness, measured upstream of the softener with the unit in bypass. Get the units right: valves may want grains per gallon while your report is in mg/L. The conversion is in water hardness units: gpg, ppm and mg/L.
- Iron and manganese compensation, if you are on a well. Iron consumes exchange capacity without appearing in a hardness result — roughly 4 gpg per ppm for dissolved iron, more for manganese. Entering raw hardness on an iron-bearing well guarantees early breakthrough. The arithmetic is in testing iron and manganese before sizing a softener.
- A small reserve, so the unit regenerates before it is completely exhausted rather than after.
Enter the compensated figure, not the raw one. Then write the number and the date on a label inside the cabinet, because in five years nobody will remember what it was based on.
Step 3: Salt Level and the Salt Bridge
Obvious, and still worth checking properly rather than glancing at.
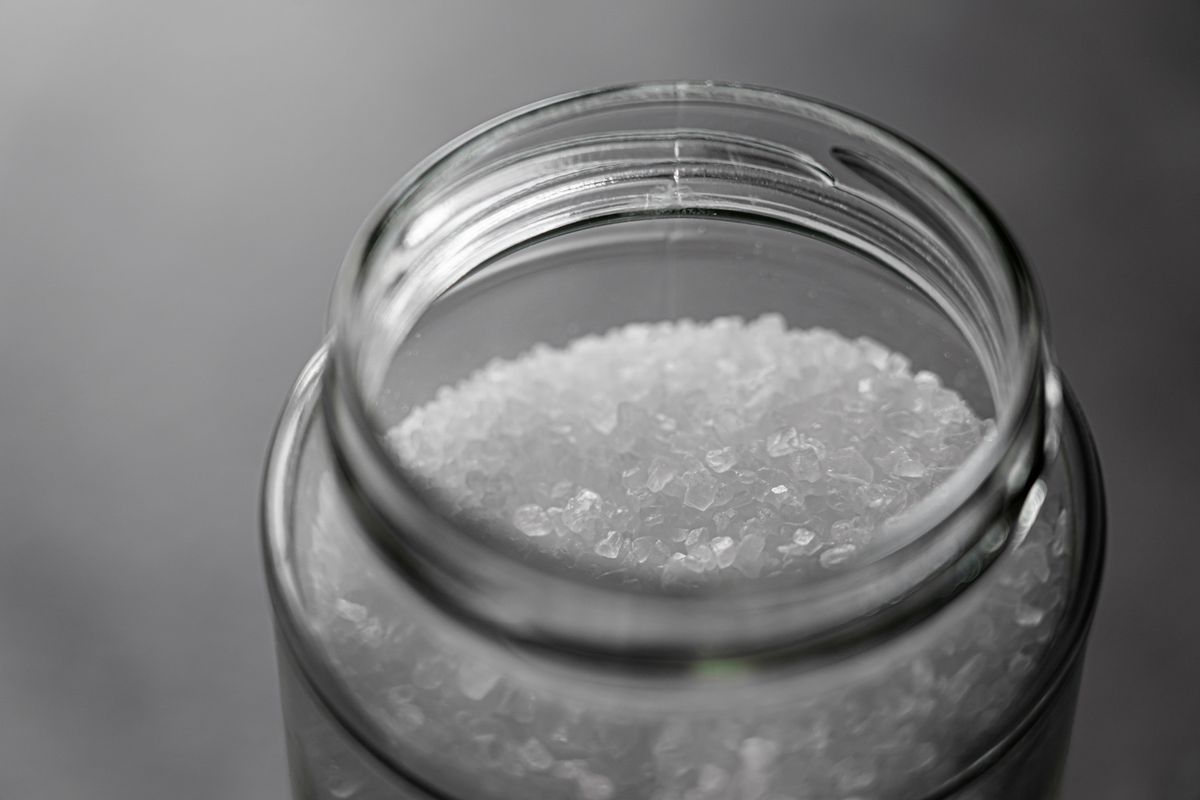
Salt level. Mark the current level on the outside of the brine tank with a marker pen and note the date. A household softener visibly consumes salt. If the mark has not moved in a week of normal use, the unit either is not regenerating or is regenerating without drawing brine, which are steps 4 and 5.
Salt bridge. This is the check people skip. Salt can form a solid crust that spans the tank, supported by the tank walls, with an empty cavity beneath it. The tank looks full from above. The brine well below it is dry, and the unit has been regenerating with plain water for weeks — which does nothing at all.
Push a broom handle straight down through the salt until it hits the bottom of the tank. If it stops partway and then breaks through with a crack, you had a bridge. Break it up, remove what will not dissolve, and refill. Bridges form more readily in humid rooms, in cold garages with big temperature swings, and with fine evaporated salt in tanks that are habitually overfilled.
Salt type and mush. Rock salt leaves insoluble sediment that accumulates as a sludge at the bottom of the tank and eventually blocks the brine pickup. If the tank has never been cleaned and is on rock salt, that is worth an hour with a shop vacuum.
Step 4: Is It Actually Drawing Brine?
A softener can run a full regeneration cycle — noises, drain flow, the works — and never pull any brine. When that happens, capacity is never restored, and the water goes hard on a predictable schedule.
The check. Fill the brine well to a level you can mark. Start a manual regeneration and advance the valve to the brine draw stage (the manual will name it; it is usually the second stage). Watch the level in the brine well. Within a few minutes it should visibly fall. If it does not move, the unit is not drawing.
The usual causes, cheapest first:
- A blocked injector or venturi. A small nozzle that creates the suction. Salt fines, iron and grit block it. It unscrews, cleans in warm water with a soft brush, and goes back. This is a common fix and costs nothing but care with the small parts.
- Low incoming water pressure. The injector needs pressure to generate suction. A well pump on a low cut-in setting, a partly closed inlet valve or a clogged whole-house sediment filter can starve it. Check pressure at a nearby tap.
- A blocked or kinked brine line, or a loose fitting letting air in instead of brine.
- A failed brine valve or air check in the brine well, which can also cause the tank to overfill with water.
- A cracked or misseated riser tube or distributor, which loses the pressure differential the injector depends on.
If the injector cleans out and brine draw returns, run a manual regeneration, then test the outlet again after the rinse completes.
Step 5: Is It Regenerating At All?
Check that a cycle is happening before concluding it is happening badly.
- Force a manual regeneration and stay with it. You should hear the valve step through positions and see water going to the drain. No drain flow means no cycle.
- Check the time of day and the clock. Power cuts reset clocks on older valves. A unit that thinks it is 2 a.m. at 2 p.m. will regenerate in the middle of the day and deliver hard water to the house while it does.
- Check the regeneration mode. A metered valve regenerates on volume used; a timer regenerates on a fixed schedule. A timer set for a household that has since grown will run out between cycles every time. Metered is the better arrangement, and EPA's WaterSense guidance on cation exchange softeners discusses demand-initiated regeneration as the efficiency baseline.
- Look at the drain line. A continuously running drain means a valve stuck mid-cycle, which sends water — and salt — straight to waste and leaves the house on hard water.
Step 6: Undersized, or the Wrong Capacity Figure
If the water is soft at the start of a cycle and hard before the next regeneration, and the hardness setting is correct, the unit may simply be too small for the demand.
The rough arithmetic: people × gallons per person per day × compensated hardness in gpg = grains removed per day. Divide the softener's usable capacity by that figure to get days between regenerations. Around 75 gallons per person per day is a common planning figure, and a three-day interval is a reasonable design target.
Undersizing arrives from three directions. The household grew. The unit was sized on raw hardness with no iron compensation. Or it was sized on a single hardness sample taken in a wet season — a real risk on wells, where the seasonal spread can approach a factor of two, as covered in how to test hardness in private well water.
Before concluding "undersized", rule out the cheaper explanations above. A fouled bed and an undersized unit produce the same symptom, and only one of them needs new equipment.
Step 7: The Resin
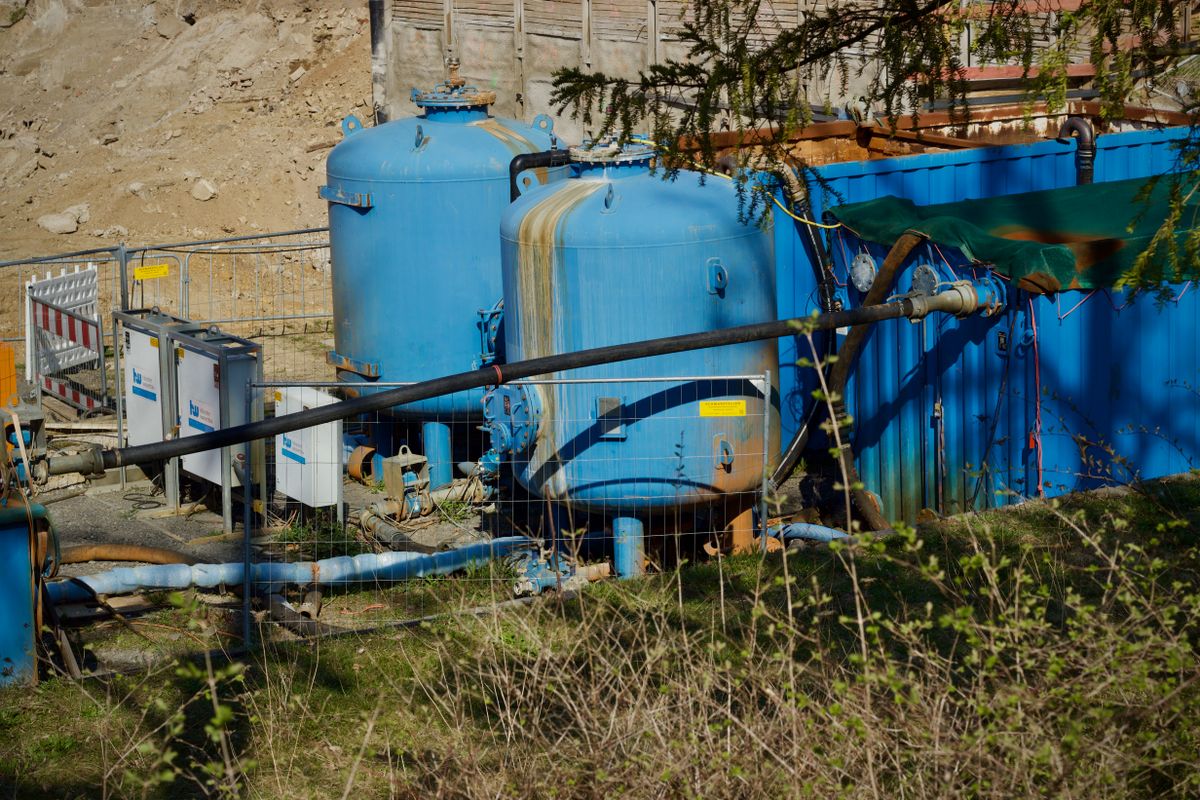
Last in the sequence because it is the most expensive conclusion and the least often correct.
Iron fouling. Iron oxide coats the beads and blocks exchange sites. The signature is capacity that falls month by month rather than staying constant, plus rusty water right after a regeneration. Resin cleaner used regularly prevents it; used as a rescue after two years it often does not recover the bed.
Channelling. Water finds a low-resistance path through the bed and most of the resin never sees it. The signature is erratic rather than steadily declining performance — soft one day, hard the next, with no pattern. It follows from low flow rates, a partly compacted bed, or a damaged distributor.
Chlorine damage. Municipal chlorine and especially chloramine oxidise the resin's structure over years. The beads soften, break down, and the bed slowly loses volume. This is the normal end of life for resin on a chlorinated supply and it shows up as a gradual capacity loss over a decade or so.
Spent resin. Eventually the resin is simply finished. Rebedding is much cheaper than a new system if the valve and tank are sound.
You can inspect without special tools: open the top of the tank and look. Healthy cation resin is amber and translucent and pours like coarse sand. Rust-brown or black clumped beads mean fouling. Mushy or broken beads mean oxidation.
Step 8: The Plumbing Between the Softener and the Tap
If the outlet reads zero but a fixture reads hard, the softener has been cleared and the problem is the route.
- An unsoftened branch. Outdoor spigots are often split off before the softener on purpose. Additions, converted garages and later bathrooms are frequently plumbed off whatever was nearest, which may be upstream.
- A crossover. A connection between the hard and soft lines — often a bypassed appliance, an old whole-house filter loop, or a single-lever mixing valve that leaks across — lets hard water back into the soft side. The tell is a whole house that is slightly hard rather than one fixture that is fully hard.
- A blend valve. Some installers deliberately set a few grains of residual hardness. That is a setting, not a fault, but it explains an "almost zero" reading.
The way to find any of these is to test every fixture and map the pattern, which is exactly the procedure in why hardness test results differ between faucets.
Step 9: It Was Never Hardness
If the outlet and the fixture both read zero and the complaint persists, the complaint is about something else. This is common and it is not a failure of the softener.
- White film that vinegar will not touch is silica, which no softener removes. Covered in why a hardness test reads zero but scale remains.
- Grey flakes and cloudy water in the first weeks is old scale releasing from inside the pipes — a side effect of the softener working, not of it failing.
- Orange or black staining is iron or manganese, which a standard softener handles only within narrow limits.
- Water that still feels wrong may be the change itself. Softened water feels slippery because soap rinses fully rather than leaving curd on the skin. It is the expected result.
- Symptoms that were never hardness-related at all — low pressure, cloudy water from air, dry skin — are sorted out in household problems commonly mistaken for hard water.
The Short Version, In Order
Print this and stick it inside the cabinet door:
- Test at the softener outlet. Soft there? Go to 8. Hard there? Continue.
- Bypass fully in service.
- Hardness setting correct, compensated for iron.
- Salt present and not bridged — broom handle test.
- Brine draw confirmed by a falling level during manual regeneration. If not, clean the injector.
- Regeneration actually running, at the right time, on the right mode.
- Capacity matched to household demand and compensated hardness.
- Resin inspected — colour, clumping, bead condition.
- Plumbing mapped fixture by fixture for branches and crossovers.
- If everything reads zero, the symptom is not hardness. Identify the residue instead.
Steps 1 through 4 cost nothing and resolve the majority of these cases. That is the point of the order. Extension guidance on water softening is a useful neutral reference if you want to check a claim an installer has made, and if you are still at the stage of deciding whether the system was the right purchase at all, do you actually need a whole-house water softener is the honest version of that question.
Frequently Asked Questions
Why is my water still hard after installing a water softener?
In rough order of frequency: you tested a tap that is not fed by the softener, the bypass valve is partly or fully open, the hardness setting is wrong or was never entered, the salt has bridged or run out, the unit is not drawing brine because of a blocked injector, it is not regenerating at all, it is undersized for the household, the resin is fouled or channelling, or the symptom was never hardness in the first place. Work through them in that order, because the first four cost nothing to check.
Where should I test water to check if my softener is working?
At the softener outlet, not the kitchen tap. A sample taken downstream of the unit but upstream of the rest of the house tells you whether the softener itself is producing soft water. If the outlet reads zero and a fixture in the house reads hard, the softener is fine and the problem is in the plumbing between them. If the outlet reads hard, the fault is in the softener and every plumbing theory can be set aside.
How long after installing a water softener will the water feel soft?
Usually within a few hours, once the softened water has displaced the hard water standing in the pipes and the water heater. The water heater is the slow part: a full tank of hard water has to be drawn down and replaced through normal use, which can take a day or two. If the cold taps feel soft and the hot side does not after two days of ordinary use, that is normal and it will resolve. If the cold side never changes, start the diagnostic sequence.
Can a water softener be set to the wrong hardness?
Yes, and it is one of the most common findings on a system that was installed but not commissioned properly. Many valves ship with a default hardness figure that has nothing to do with your water. Set it too low and the unit regenerates too rarely, so hardness breaks through before the cycle ends. On well water the setting also has to be compensated for iron and manganese, because those consume capacity that the hardness figure does not account for.
How do I know if my water softener is actually using salt?
Mark the salt level with a pen on the outside of the brine tank and check it a week later. A working household softener visibly consumes salt. If the level has not moved, either it is not regenerating or it is regenerating without drawing brine. Push a broom handle straight down through the salt first — a bridged crust can sit above an empty cavity and look like a full tank while the unit has had no salt available for weeks.
Should I replace a softener that is still producing hard water?
Not until the free checks are done. The sample point, the bypass, the hardness setting and the salt account for the majority of these complaints and cost nothing to rule out. After those, a brine draw test and a regeneration check narrow it to a valve or injector issue, both of which are repairs rather than replacements. Replacement is genuinely the right answer mainly when the resin is spent or iron-fouled beyond recovery, or the unit is materially undersized for the household.
