
When to Replace a Sediment Prefilter Before a Softener
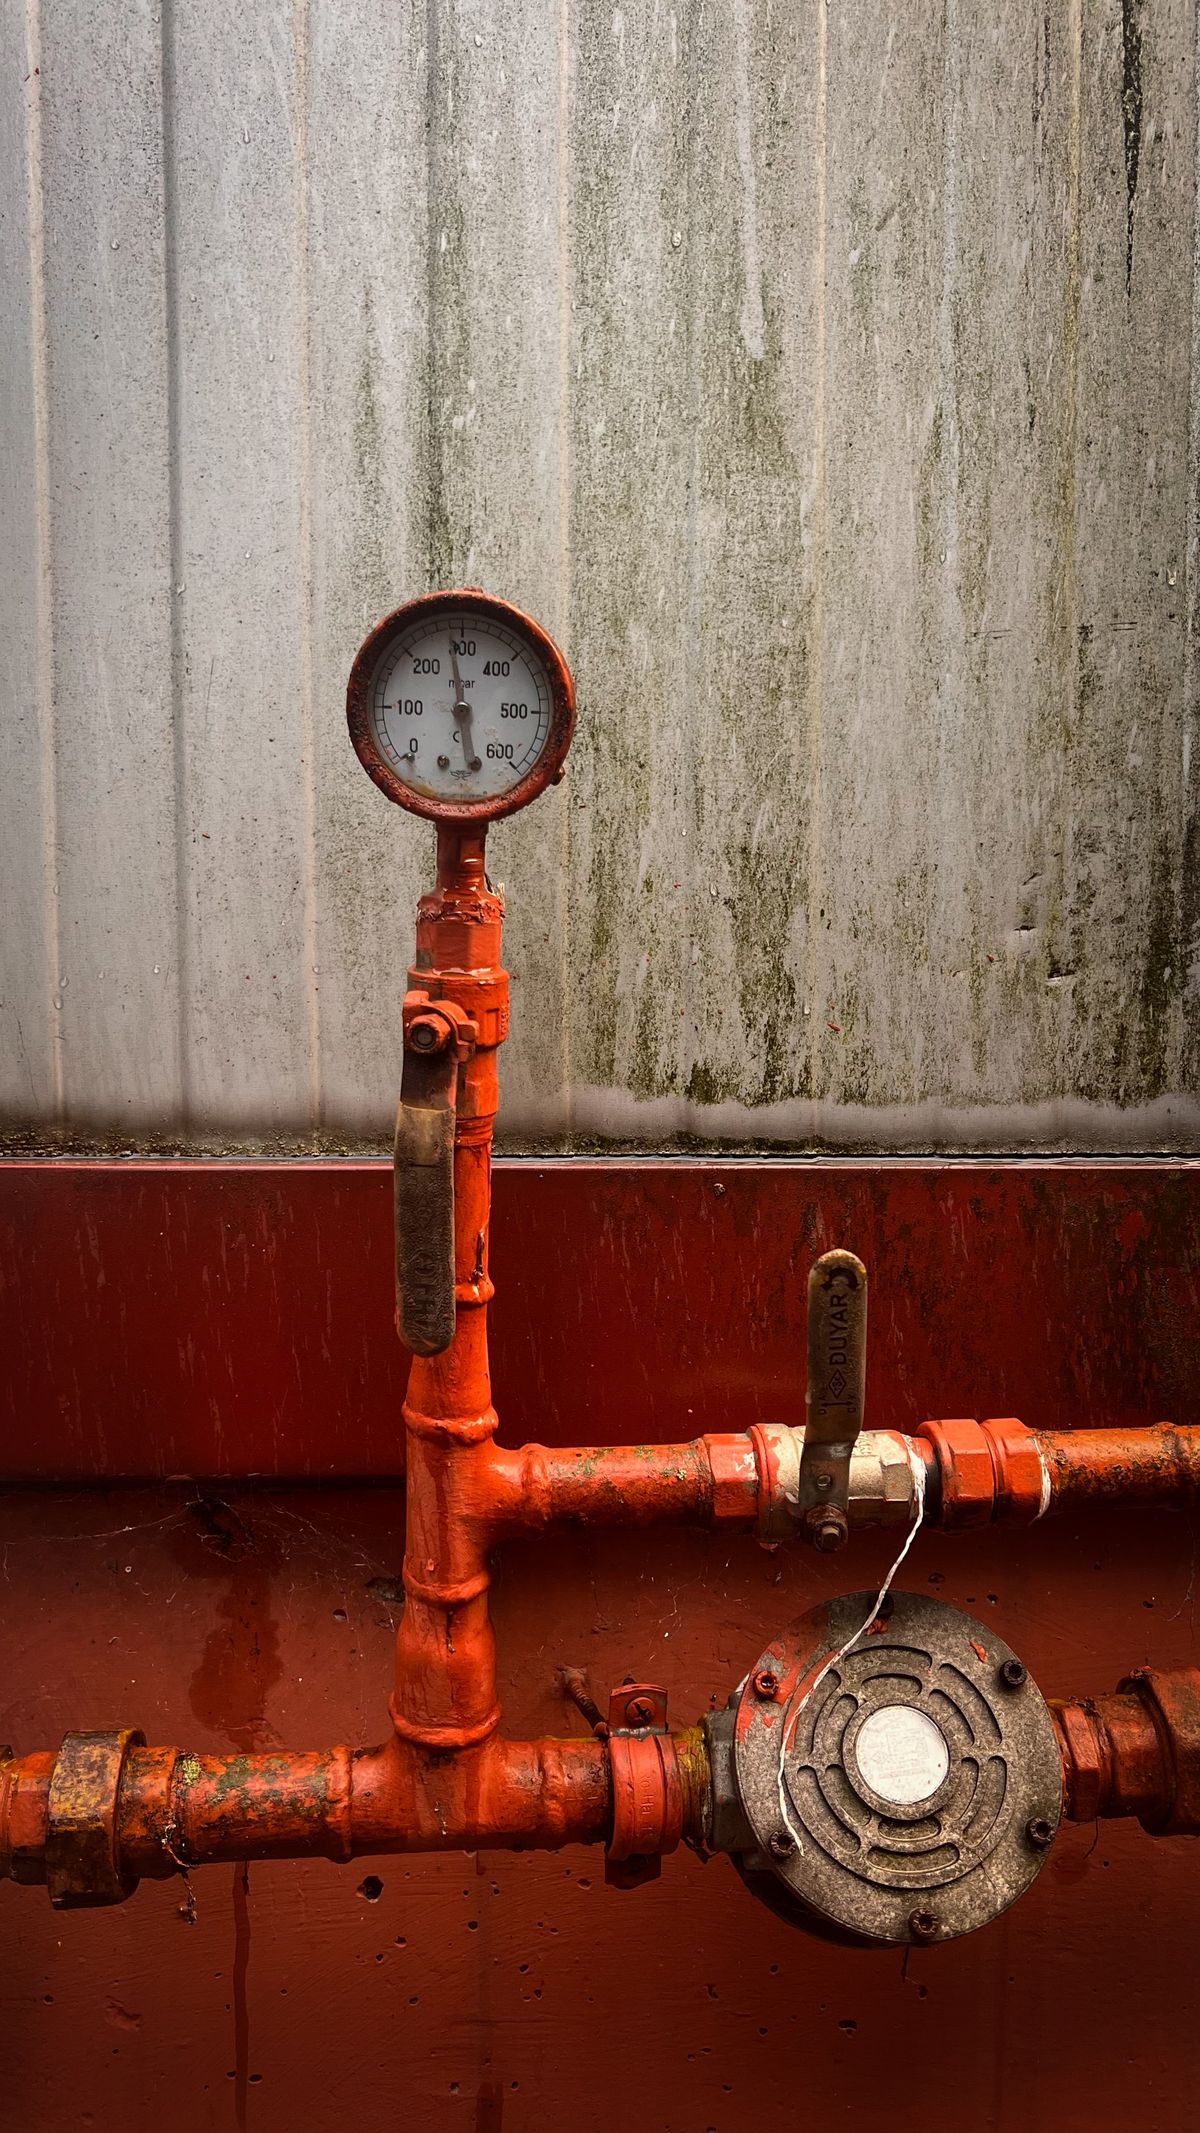
A sediment filter before a water softener should be changed when the pressure drop across it rises about 8 to 10 psi above what a fresh cartridge showed, not on a calendar date. A clogged cartridge starves the softener's backwash of water, so the bed gradually channels, and the gauges show that happening weeks before the taps do.
Picking the micron rating is the other half of the job. Go too fine and it clogs fast and costs you pressure. Go too coarse and silt reaches the resin anyway.
Why a Sediment Filter Before a Water Softener Matters

Most people think of the prefilter as protecting the resin from dirt. It does, but that is only half its job. Once it clogs, it starts to damage the softener.
The backwash problem. Every regeneration begins with a backwash. Water flows up through the resin bed fast enough to lift and loosen it, and that flushes out fine debris before the brine stage. The rate is fixed by a small flow control in the drain line, and it is sized on the assumption that house pressure is available at the valve inlet. Put a half-blocked cartridge in front of the valve and the backwash flow drops. The bed no longer lifts properly, and fine particles and compacted zones stay where they are.
What happens next. A bed that is not fully lifted, cycle after cycle, develops preferred paths. Water takes the easy route through those paths and bypasses large volumes of resin. The result is hardness leaking through well before the softener thinks it is exhausted. That fault is covered in water softener resin channeling. It is slow to develop and slow to undo, and a restrictive prefilter is one of its quieter causes.
What sediment does when it gets through.
| Where it lands | Effect |
|---|---|
| Top of the resin bed | Forms a crust that water channels around. Backwash cannot always lift it |
| Control valve seals and spacers | Scores the seals. The valve leaks to drain or fails to hold position |
| Injector (venturi) | Blocks the tiny nozzle, so brine draw fails and the tank never refills correctly |
| Distributor screen | Restricts flow and raises pressure drop through the softener itself |
The limit. A sediment filter removes particles. It does nothing for dissolved iron, manganese, tannins or hardness. It will catch iron that has already oxidised into rust particles, and on some wells it turns orange within days for exactly that reason. Penn State Extension's guide to iron and manganese in private water systems says oxidised iron should be filtered out before the softener rather than left for the resin to catch. A sediment cartridge can do part of that job, but it is not an iron filter.
Choosing a Micron Rating: The Tradeoff
A micron rating describes the size of particle a cartridge is designed to stop. Smaller numbers catch finer material, and they also clog faster and restrict more flow.
| Rating | What it stops | Pressure cost | Clogs | Best use |
|---|---|---|---|---|
| 100 micron (screen/spin-down) | Sand, grit | Very low | Rarely. Flushable | First stage on sandy wells |
| 50 micron | Coarse silt, scale flakes | Low | Slowly | General well protection with good flow |
| 20–30 micron | Most silt | Moderate | Moderately | The usual balance for a softener prefilter |
| 5 micron | Fine silt, some clay | High on dirty water | Quickly on wells | Polishing after a coarser stage, or on clean supplies |
| 1 micron | Very fine particles | Highest | Very quickly | Not usually needed ahead of a softener |
Too fine. A 5-micron cartridge on a silty well can load up in a couple of weeks. Its pressure drop climbs steeply, and it takes the softener's backwash flow down with it. You gain very little. The resin does not need water polished to 5 microns. It needs sand and silt kept out.
Too coarse. A 100-micron screen on its own lets fine silt straight through to the bed, and that silt is what builds the crust on top of the resin.
Staging beats picking one. On a dirty well, fit a coarse spin-down or 50-micron stage first and a 20-micron cartridge after it. Each one then handles the particle size it is suited to, and the fine stage lasts many times longer because the coarse one takes the bulk.
Nominal versus absolute. Most household cartridges are rated "nominal", which means they catch most, not all, particles of the stated size. Two cartridges both labelled 20 micron can behave differently. That is one more reason to judge the change by measuring pressure drop rather than trusting the label's service life.
Housing size matters as much as micron. A standard 2.5 × 10 inch housing with 3/4-inch ports gets overwhelmed by a whole house running a shower, a washing machine and a dishwasher together. A 4.5 × 20 inch "big" housing with 1-inch ports has several times the surface area. It drops less pressure at the same flow and lasts proportionally longer. If the softener has 1-inch plumbing, the prefilter should too.
Fit Two Gauges

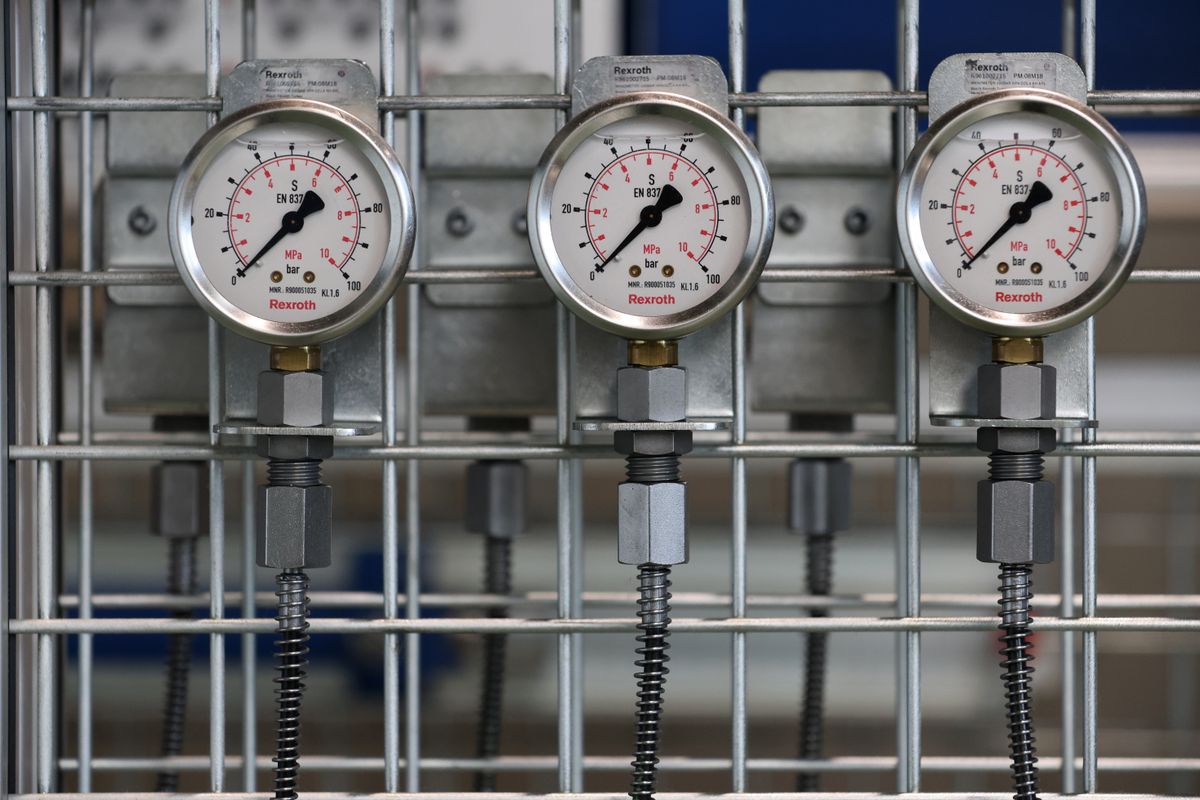
A single gauge after the filter tells you house pressure. Two gauges, one each side of the housing, tell you what the filter is costing you, and that difference is the number that matters.
Where to put them:
- Inlet gauge: on the supply side, between the pressure tank or meter and the filter housing.
- Outlet gauge: between the filter housing and the softener inlet.
- Many filter heads have tapped 1/4-inch ports for gauges. Where they do not, a tee with a gauge fitted during the next plumbing job is inexpensive.
Take readings at a fixed flow. Pressure drop across a filter is close to zero when nothing is running and rises sharply with flow. A reading taken with no water flowing tells you nothing. Pick a repeatable test flow, such as one bath tap fully open, or the outside hose bib. Use the same one every time.
On a well, read at the same point in the pump cycle. Pressure swings between the pump's cut-in and cut-out settings. Read both gauges together, just after the pump shuts off, with your test flow running.
Which gauges to buy. A 0–100 psi dial suits most homes. Choose one where normal house pressure sits in the middle third of the scale, because readings at the extremes are the least accurate. Liquid-filled gauges hold a steadier needle on well systems where the pump makes the pressure pulse. Most important of all, use two gauges of the same model and range. Two different gauges can disagree by a couple of psi even with no flow. Read both with every tap closed when you first fit them, and note any fixed offset so you can subtract it from later readings.
Record the baseline with a brand-new cartridge. That figure is your zero. Every later reading is compared against it, not against an absolute number.
When to Change It: Reading the Differential
The change trigger is the rise in pressure drop above the new-cartridge baseline, measured at your standard test flow.
| Rise above baseline | What it means | Action |
|---|---|---|
| 0–4 psi | Normal loading | Keep logging |
| 5–7 psi | Loading is well under way | Buy the next cartridge. Check more often |
| 8–10 psi | Change point for most homes | Change the cartridge |
| Over 10 psi | Backwash and house pressure are now affected | Change immediately. Review the micron rating or add a coarser stage |
The second trigger: outlet pressure at the softener. Control valves need a minimum working pressure to run their cycles properly. Pentair's Fleck 5600SXT service manual, for one widely used valve, specifies a minimum of 20 psi for the regeneration valve to operate effectively. Your valve's manual will give its own figure. If outlet pressure during the test flow is heading towards that number, change the cartridge whatever the differential says. On a well with a low pump cut-in pressure, this can be the trigger that arrives first.
Why not just change it every three months? Because sediment load is not constant. A well can run clean for months and then send a slug of silt after heavy rain or pump work. On a fixed schedule you either throw away half-used cartridges or run a blocked one for weeks. The gauges show you which is happening.
Signs you missed the change point: pressure that falls away when a second tap opens, a softener that seems to regenerate normally while hardness creeps back, or a cartridge that has collapsed or channeled so dirty water is going round it. General pressure loss after an install, and the other things that cause it, is covered in low water pressure after a water softener.
A Pressure-Drop Log You Can Copy

Print it, tape it to the filter housing, and fill a line in every two weeks for the first few months. Once you know your well's pattern, once a month is enough.
| Date | Cartridge (micron, date fitted) | Test flow used | Inlet psi | Outlet psi | Drop (in − out) | Rise over baseline | Cartridge colour / notes |
|---|---|---|---|---|---|---|---|
| 20µ, fitted / | Bath tap full | 0 (baseline) | New | ||||
How to read a filled log:
- Straight-line rise. Steady sediment load. Divide 8 psi by the weekly rise and you have your real change interval.
- Flat, then a jump. Event-driven sediment such as rain, pump work or mains flushing. Check after those events rather than on a schedule.
- Rapid rise from new, cartridge orange. Oxidised iron, not silt. The answer is an iron filter, not more cartridges.
- No rise at all over a year. The water is clean, or the cartridge is being bypassed. Look at it: a white cartridge after a year on a well is suspicious. Check it is seated and the O-ring is in place.
Write the interval down once you know it. After two or three cartridges the log gives you a realistic interval for your water. Add it to your wider water softener maintenance schedule so it gets done alongside everything else.
Changing the Cartridge Without a Mess
- Close the valves either side of the housing, or put the filter in bypass if it has one. On a single-valve setup, shut off the supply.
- Press the pressure-relief button on the filter head, or open a downstream tap, until the flow stops.
- Put a bucket and towel underneath. A big housing holds a gallon or more.
- Unscrew the sump with the housing wrench. Turn it slowly. A sudden release sprays.
- Look at the old cartridge before you bin it. The colour tells you what the water carries. Grey or brown is silt, orange is iron, black specks point to manganese or pipe debris. Note it in the log.
- Wash the sump with warm soapy water, then rinse. If the water is from a well, a brief wipe with dilute household bleach followed by a thorough rinse keeps slime from colonising it.
- Check the O-ring. Clean it, lubricate it with food-grade silicone grease, and seat it fully in its groove. Almost all housing leaks come from an O-ring that was pinched or dry.
- Fit the new cartridge centred on the head and sump posts, then hand-tighten the sump and give it a small nip with the wrench. Do not overtighten.
- Open the inlet valve slowly, bleed air with the relief button, then open the outlet valve.
- Take a new baseline reading at your test flow and start a new line in the log.
If you see black particles at the taps after a change, that is usually carbon or debris from the new cartridge, or old sediment dislodged downstream. It is covered, alongside the more serious resin-bead cause, in black specks in water after a softener.
What a Prefilter Will Not Do
Setting the limits honestly keeps you from expecting more than a cartridge can deliver.
- It will not remove dissolved iron or manganese. Those pass through as clear water and oxidise later, inside the softener or at the fixtures. Test for them with the method in test iron and manganese before sizing a softener.
- It will not remove hardness. That is the softener's job.
- It will not undo damage already done. A bed that has channeled or fouled under a clogged prefilter needs its own recovery. Changing the cartridge only stops it getting worse.
- It will not help if it is bypassed. A cartridge that is not seated, or an O-ring that is missing, lets water round the media without touching it.
- It does not make water safe to drink. A sediment cartridge is not a disinfection or health-contaminant device. Well water safety needs its own testing.
Setting It Up Once, Properly
- Size the housing to the softener's plumbing, and use a big housing on 1-inch lines.
- Pick the micron rating for your water. 20–30 micron for most homes. Stage a coarse screen first on sandy wells.
- Fit a gauge on each side of the housing.
- Choose one standard test flow and always read at it.
- Record the new-cartridge baseline.
- Log every two weeks until you learn the pattern, then monthly.
- Change at 8–10 psi above baseline, or sooner if outlet pressure nears the valve's minimum.
- Read the old cartridge's colour each time. Orange means iron, not silt.
- Lubricate the O-ring and re-baseline after every change.
A sediment filter before a water softener costs little and protects the most expensive parts of the system: the resin and the valve. Changed by the gauges, it does that job without wasting cartridges or sacrificing the backwash that keeps the bed healthy.
Frequently Asked Questions
Do I need a sediment filter before my water softener?
On well water, almost always. Sand, silt and pipe scale bury the resin bed, score the control valve seals and block the injector. On municipal water it is optional but still sensible where mains work, old pipes or occasional turbidity send debris through. It is cheap insurance for the valve and the resin. The exception is a softener fitted straight after equipment that already filters, such as a backwashing iron filter.
What micron sediment filter should go before a water softener?
Match it to the water rather than choosing the finest one available. Twenty to fifty micron suits most wells and protects the softener without restricting flow. Five micron catches finer silt but clogs far faster on a dirty supply and can drop pressure enough to affect backwash. On a sandy well, fit a coarse spin-down screen of about 50 to 100 micron first and follow it with a finer cartridge, so the fine one is not doing all the work.
How often should you change a sediment filter before a softener?
When the pressure drop across it reaches your change point, not on a fixed date. As a starting rule, change it when the difference between the gauges before and after the housing has risen about 8 to 10 psi above what a new cartridge showed at the same flow. On a clean municipal supply that might take six to twelve months. On a sandy well it can take a few weeks.
Can a clogged sediment filter cause low water pressure?
Yes, and it is one of the most common causes of pressure falling gradually across the whole house after softener installation. The loss shows up worst when several fixtures run at once, because pressure drop across a filter rises steeply with flow. If pressure recovers when the housing is bypassed or the cartridge is removed, the filter was the restriction.
Should the sediment filter go before or after the water softener?
Before. Its job is to stop particles reaching the resin and the control valve. A filter after the softener protects the fixtures but does nothing for the softener itself. If you have an iron filter, the usual order is sediment filter, then iron filter, then softener, unless the iron filter's manufacturer specifies otherwise.
Why is my new sediment filter turning orange or brown so fast?
Iron is oxidising in the water and being caught as particles. That means the supply carries iron, and some of it is already oxidised by the time it reaches the filter. A sediment cartridge will catch the rust-coloured particles but not dissolved iron. Test the raw water for iron. If it is significant, an iron filter belongs in the line and the sediment cartridge alone is not enough protection for the resin.
